
AI Background Removal: How It Works and How to Get a Transparent PNG
Contents
- Why manual cutouts in Photoshop took so long
- Splitting a photo's pixels into foreground and background: deep learning segmentation
- The core mechanism: the alpha matting equation
- Manual Photoshop vs. old-school chroma key vs. on-device AI cutout
- 5 common mistakes when cutting out backgrounds
- A 5-step workflow for a flawless, high-resolution cutout
- 7 cutout tips
- Final Decision Tree: Which Background Removal Tool Should You Use?
- Computer Vision & Background Removal Cheat Sheet
- Frequently Asked Questions
The phrase "cutting out a background" comes from design and print shops. If you wanted to keep only a person or product and erase the background, you had to trace the outline in the photo by hand, point by point, with Photoshop's Pen tool or Lasso tool. Cutting out a single strand of hair or a messy fur texture cleanly was grueling work — even a skilled designer could spend anywhere from tens of minutes to an hour on a single image.
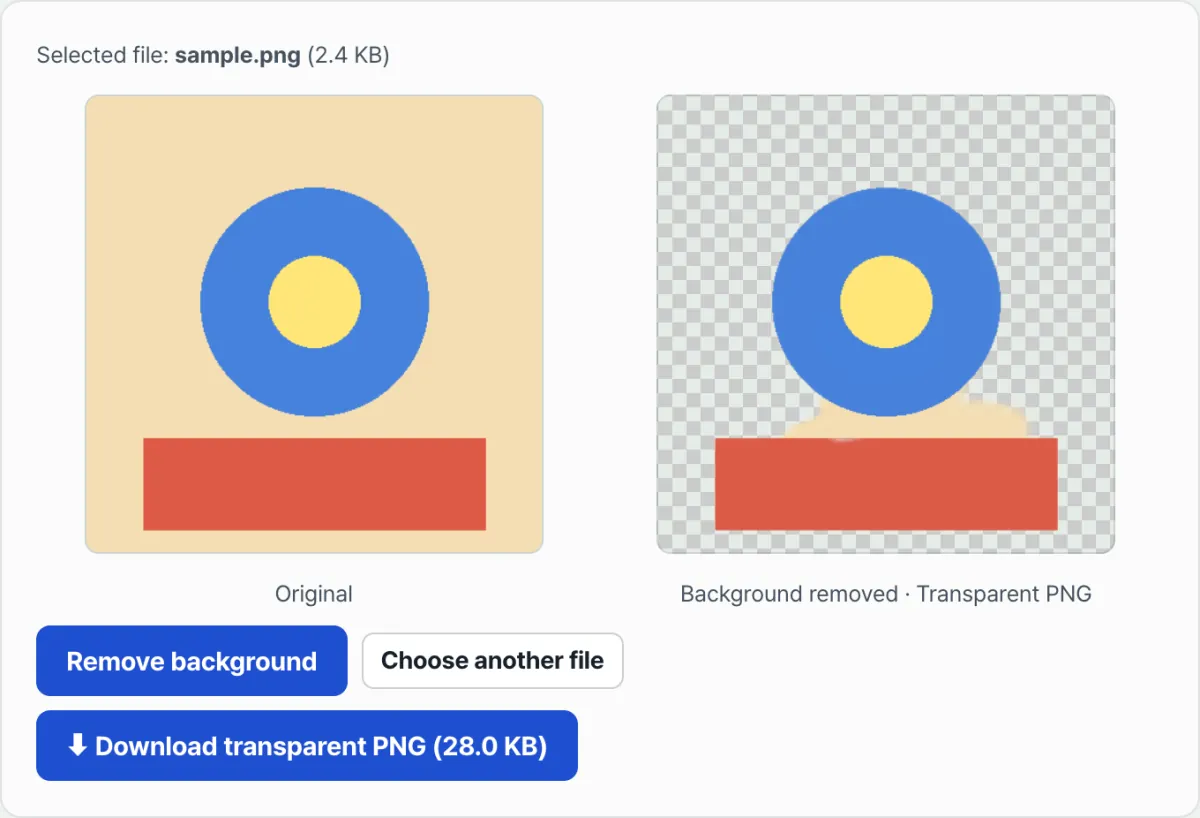
Now you upload one photo and a few seconds later you get a high-resolution transparent PNG with the background gone. The heart of this automation is deep learning models for image segmentation and alpha matting, which classify every pixel in a photo as foreground or background.
Key takeaways ① Old-school manual cutouts meant a human drew every pixel boundary by hand. AI cutouts have a neural network infer each pixel's foreground probability in 0.01 seconds. ② The alpha matte holds continuous, smooth values from 0 (transparent) to 255 (opaque), so hair and semi-transparent glass bottles separate naturally. ③ Our tool runs on the latest WebAssembly and Transformers.js engines, so it extracts the cutout inside your browser without sending the image to an outside server.
Why manual cutouts in Photoshop took so long
In older graphics programs, the Magic Wand tool only detected "RGB color differences" between neighboring pixels. So when the subject and background were similar in color, or in areas with shadows, it grabbed the wrong side of the boundary and left jagged, stair-stepped edges.
In the end, the person doing the work had to zoom to 800% with the magnifier and rub the edges with a mask brush by hand. Hair blowing in the wind, fine animal fur, and mesh clothing were practically impossible to isolate perfectly.
Splitting a photo's pixels into foreground and background: deep learning segmentation
AI background removal engines use neural networks (for example RMBG, BiRefNet, MODNet) pretrained on millions of high-resolution foreground-background datasets.
- Encoder: Reads the semantic structure of the subject in the input photo (face, clothes, bag, hands and feet) and the overall context.
- Decoder: Combines high-frequency detail (hair tips, fabric texture) with the original resolution to precisely reconstruct, pixel by pixel, whether each pixel is foreground.
- Alpha matte output: Generates, in real time, each pixel's probability of belonging to the subject as an 8-bit (0–255) grayscale image.
Free · AI runs in your browser · Your photo never leaves your device
The core mechanism: the alpha matting equation
Here's the compositing formula that defines background removal mathematically in computer vision, plus the local in-browser inference technique.
1. The basic image matting equation
Every pixel I in a digital photo is a composite of foreground F and background B linearly blended by the alpha value α:
- I = α F + (1 − α) B (0 ≤ α ≤ 1)
- α = 1: pure subject (fully opaque)
- α = 0: pure background (fully transparent)
- 0 < α < 1: semi-transparent boundary areas such as hair, glass, and smoke From I alone, the AI model has to work backward to the best α map among the unknown variables F, B, α. Deep learning solves this extremely hard nonlinear inverse problem.
2. In-browser, on-device AI (WebAssembly & WebGPU)
- Zero-Server Processing: Through the Transformers.js library, the model weights (a quantized ONNX model) download into the browser cache, then inference runs directly on your local GPU (WebGPU) or CPU (Wasm).
- Privacy: Neither the original photo nor the result is uploaded to a server.
Manual Photoshop vs. old-school chroma key vs. on-device AI cutout
| Comparison | Manual Photoshop Pen tool | Chroma key / color extraction tool | On-device AI background removal |
|---|---|---|---|
| Time per image | 10–30 minutes | 3–5 seconds | 1–3 seconds, done instantly |
| Hair / fur detail | Depends on the operator's skill | ❌ Jagged edges and smearing | ⭕ Alpha matting fully preserved |
| Semi-transparent objects (glass / mesh) | Manual mask separation required | ❌ Forcibly erased | ⭕ Natural transparency kept |
| Server upload and privacy | Local PC (safe) | Uploaded to an outside server (leak risk) | ⭕ Processed inside your browser |
| Cost | Pricey monthly subscription / labor cost | Free (poor quality) | Completely free, unlimited use |
5 common mistakes when cutting out backgrounds
- Saving the result as JPEG: JPEG doesn't support an alpha channel (transparency), so the moment you save, the transparent background fills with white or black (always save as PNG/WebP).
- Shooting in low light with no brightness contrast between subject and background: Wear black clothes on a dark night and the AI can misread the edges.
- Deleting all drop shadows and creating a floating look: To avoid a product that seems to hover in midair, keep the natural shadow where the subject touches the ground, or add it back afterward.
- Using a low-quality original: When the source is smeared below 500px resolution, the AI's high-frequency edge decoder struggles to work.
- Uploading sensitive photos to server-based free tools: Carelessly using sites where internal design files or personal selfies can leak.
A 5-step workflow for a flawless, high-resolution cutout
- Step 1 (prepare a high-contrast original): Start with a photo where lighting on the subject and background is even and the edges are clear.
- Step 2 (drag and drop the file): Drag your image file into the work area of our tool.
- Step 3 (run background removal): Click the "Remove Background" button to start local neural network inference in your browser.
- Step 4 (inspect on the checkered transparent background): Zoom in on the alpha matte rendered in 1–2 seconds and check the detail at the tips of the hair.
- Step 5 (download the transparent PNG and composite): Click "Download Transparent PNG" and drop it straight into Figma, Photoshop, or a product page design.
7 cutout tips
- Use a solid-color background when shooting (a chroma key cloth or a white wall): The simpler the background, the more accurate the segmentation.
- Add rim light along the subject's outline: A soft backlight on the shoulders and behind the head separates the subject perfectly from the background, so even fine hair looks great.
- Soften the edge with 0.5px canvas feathering: If a composite looks too sharply cut against the background, add a 0.5px micro-blur to the edge and blend it in naturally.
- Cut file size by 70% with transparent WebP: To speed up website loading, convert transparent PNGs to WebP — you keep transparency and shrink the file to 1/3 the size.
- Separate the floor shadow onto its own layer for product pages: Lay a faint elliptical gradient floor shadow beneath the cutout layer to get a premium sense of depth.
- Use the Multiply blend mode for glassware cutouts: When compositing a semi-transparent drink bottle, adjusting the layer blend mode gives you refraction that looks like it was shot in a real cafe.
- Batch process large product shot sets: Once the model is loaded in the browser cache, you can convert files back to back at 0.5 seconds per image.
Final Decision Tree: Which Background Removal Tool Should You Use?
- Scenario A (online store product cutouts, profile photos, blog thumbnail composites) ➔ On-device AI background remover (free · your photo is never uploaded to a server)
- Scenario B (ID cards, internal security documents, unreleased product designs) ➔ Browser-based local AI tool with no server upload (required)
- Scenario C (fine pixel-level retouching plus color correction) ➔ Professional graphics software (with Photoshop mask integration)
- Scenario D (background removal for video at scale) ➔ AI video rotoscoping tool
Computer Vision & Background Removal Cheat Sheet
- Image segmentation: A deep learning technique that assigns a class label (foreground vs. background) to every pixel in a photo.
- Alpha matting: A technique that precisely extracts the transparency value (α) of boundary areas where foreground and background blend, on a scale from 0 to 1.
- Alpha channel: A fourth channel (RGBA) that defines pixel opacity in addition to RGB color values.
- ONNX (Open Neural Network Exchange): An open format for model compatibility across different deep learning frameworks.
- WebGPU: A modern web standard that lets a web browser directly use your graphics card's (GPU) hardware acceleration.
Frequently Asked Questions
Why should I save the result as a PNG instead of a JPG?
The JPG file format has no room to store pixel transparency (the alpha channel), so transparent areas are automatically filled with white or black. To keep the background transparent, you must save the image as PNG or transparent WebP.
Are the photos I upload collected on external servers or used for AI training?
Not at all. All deep learning neural network computations in this tool run locally inside your browser (WebAssembly), so not a single photo is sent to an external server.
Can I use cutout images on commercial product pages or YouTube thumbnails?
Yes. All transparent-background images extracted with this tool can be used freely for commercial and non-commercial purposes without restriction.
This article was adapted from our Korean original. Read the Korean original