
Why Code Screenshots Look Blurry and How to Fix It
Contents
- Why This Happens: Pixels Can't Be Added Later
- How to Check: Start With the File's Actual Pixel Count
- Common Sticking Points
- Wrap-Up
- Core Technical Mechanism: Why Does Code Blur Worse Than Other Images?
- Code Presentation Methods: Comparison Matrix
- 5 Code Capture Mistakes You Might Be Making
- A 5-Step Workflow for Sharp, Good-Looking Code Cards
- 7 Tips for Visualizing Code
- Decision Tree: How Should You Share Your Code?
- Key Terms and Cheat Sheet
- Frequently Asked Questions
You post a code screenshot to your blog or social media. On your screen, the text looked fine. After the upload, it looks smudged. The file isn't damaged. The screenshot simply saved fewer actual pixels than the size it is later displayed at. If you know one number, you can check whether a screenshot will look blurry before you even take it.
Summary ① Screenshot sharpness is set by the number of pixels actually saved, not by compression. ② The pixel count is determined by the size of the captured window × the screen scale (display density), and it never increases afterward. ③ Capture at least 2x as many pixels as the width the image will be displayed at, and it won't blur when scaled up.
Why This Happens: Pixels Can't Be Added Later
An image file holds a fixed number of dots (pixels) across and down. A screen capture program saves only "the size of the captured area × the scale of that display" worth of dots. No matter how large a screen you show the file on, dots that were never there don't appear.
For example, say you capture an editor window that is 600 points wide on a 1x monitor. The saved file is exactly 600 pixels wide. If you drop that file into a blog with a 1200-pixel content width, the browser stretches it and fills in the 600 missing pixels using the colors around them. This interpolation smears the strokes of the letters and makes them look blurry.
On Retina and other high-resolution displays (2x scale or higher), the same window is saved with twice the pixels, so things are better. But if you captured a small editor window, the absolute pixel count is still too low, even at a high scale. The same problem shows up all over again.
How to Check: Start With the File's Actual Pixel Count
The most reliable check isn't a quality slider. It's looking at how many pixels the image file actually has. On a Mac, select the file and choose Get Info (Cmd+I). On Windows, open Properties → Details. You'll see the width × height in pixels.
Compare that number with the width the image will be displayed at. If your blog's content width is 800 pixels, the file should be at least 1600 pixels wide to stay sharp for readers on Retina screens, with no signs of stretching. To meet that with screen capture alone, you'd need to open the editor window at twice the display width and capture on a high-density display.
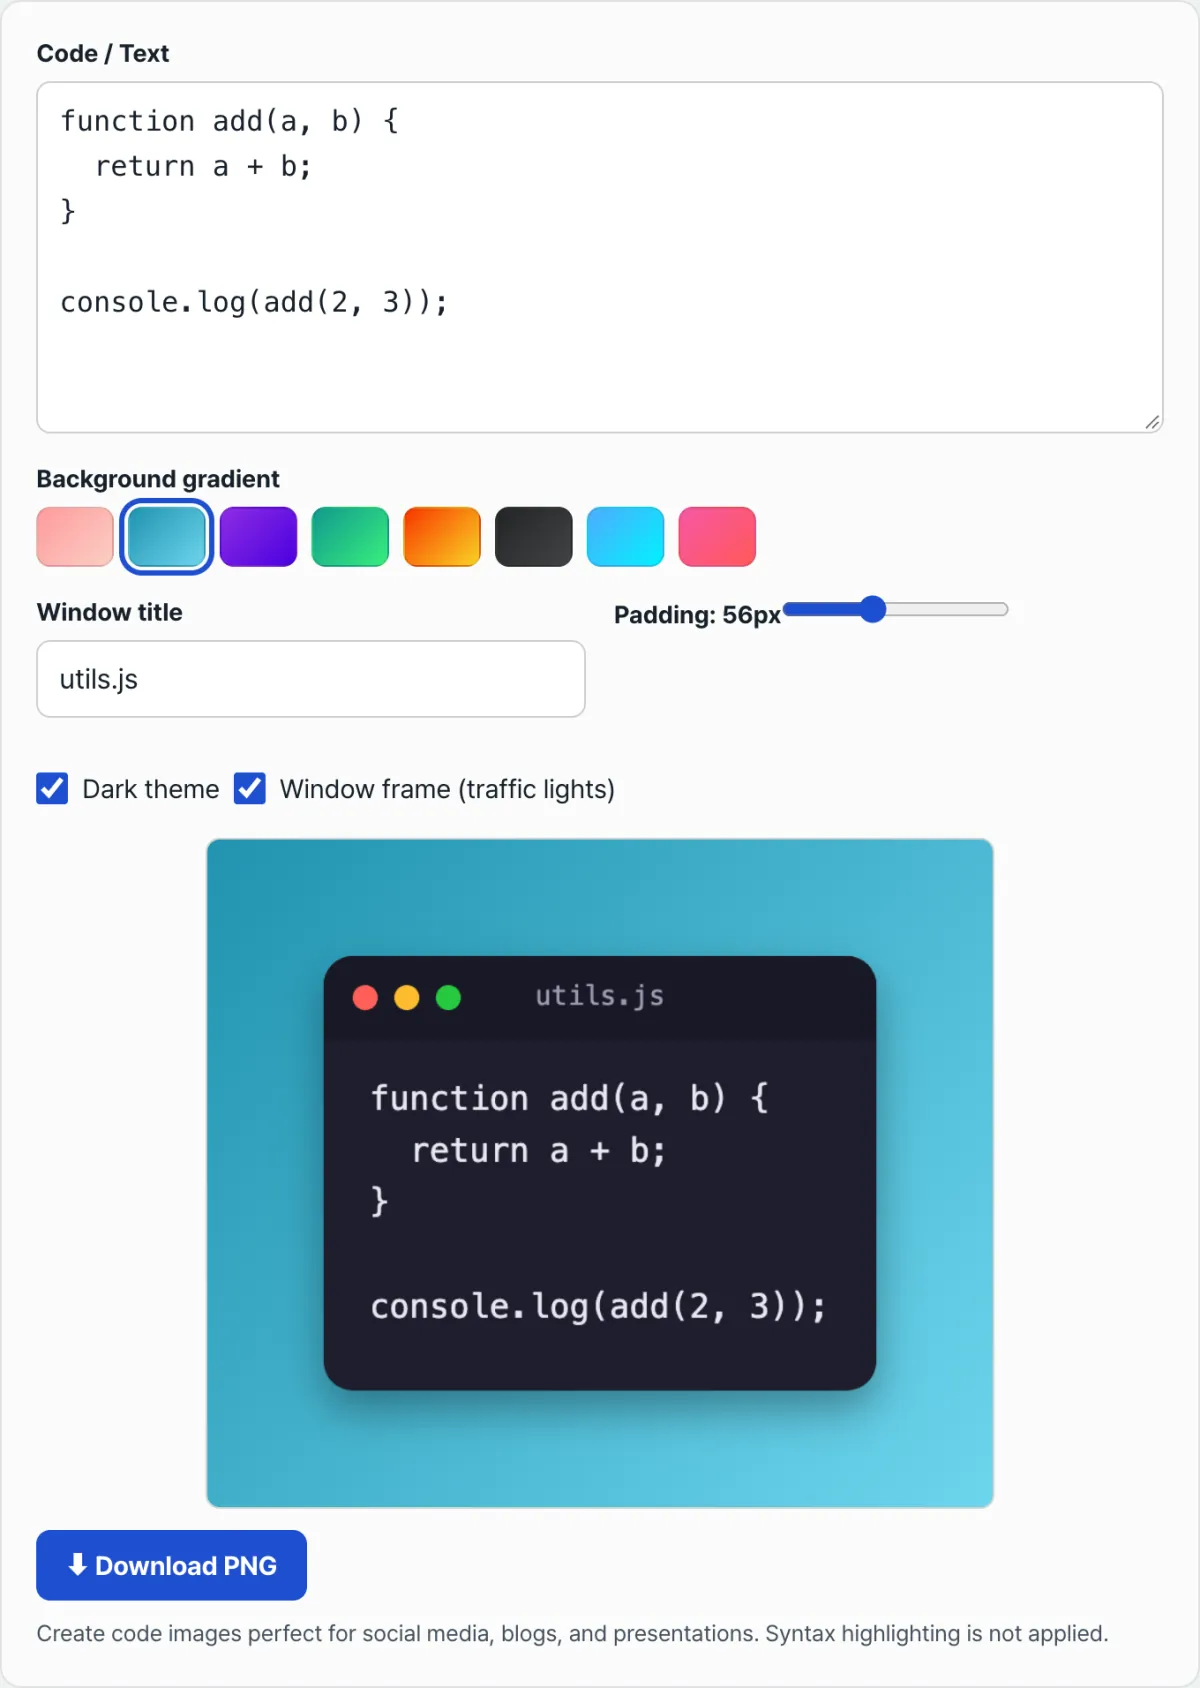
Check it with our tool. Instead of measuring window sizes and matching scale every time, you can paste your code as text. The tool redraws it at a fixed 2x resolution and saves it, with no screen capture needed.
Free · No sign-up · Renders instantly in your browser at 2x resolution
A file made this way always holds more pixels than the width it's displayed at. You can drop it into a blog post or a Twitter card as is, and it won't show stretching.
Common Sticking Points
| Symptom | Cause |
|---|---|
| Sharp on my screen, blurry after uploading to my blog | The blog's content width is wider than the capture width, so the browser stretches and interpolates the image |
| The same file looks fine on my Mac but blurry on an external monitor | The external monitor is 1x, so the saved pixel count itself is low |
| Increasing the file size doesn't make it sharper | File size (compression rate) and pixel count are separate things. A bigger file doesn't create pixels that aren't there |
| Zooming in on a blurry capture I already took | Zooming only interpolates the pixels that exist. It can't create information that isn't there |
Wrap-Up
- There is one cause of blurry code screenshots: the saved pixel count is lower than the display width.
- To check, you don't need compression settings. Compare the file's actual width × height in pixels with the width it will be displayed at.
- If the file holds at least 2x the display width in pixels, it won't show stretching wherever you post it.
- A low-resolution capture you already took can't be fixed by enlarging it. It's faster to redraw it at a fixed scale and save it.
Free · No sign-up · Renders instantly in your browser at 2x resolution
Core Technical Mechanism: Why Does Code Blur Worse Than Other Images?
To understand technically why code screenshots lose quality more easily than ordinary photos, you need to know about display density and how text is rendered.
Display Pixel Density (Device Pixel Ratio, DPR)
This is the ratio between the size shown on screen (CSS pixels) and the physical pixels the device actually uses.
- 1x standard display: 1 CSS px = 1 physical pixel. (A traditional FHD monitor)
- 2x Retina / HiDPI display: 1 CSS px = 4 physical pixels (a 2x2 matrix).
- 3x modern mobile OLED: 1 CSS px = 9 physical pixels (a 3x3 matrix).
Raster Upscaling and Interpolation Artifacts
Say you force a 600px-wide raster (pixel) image to render in an 800px container. The browser fills in the empty pixels using a bilinear or bicubic interpolation algorithm. The subpixel anti-aliasing edges of the font, which should render crisply, spread across several pixels. The text ends up badly smeared.
Subpixel Font Rendering vs. Canvas Rasterization
Subpixel rendering technologies in the operating system, such as ClearType and FreeType, control the R, G, and B subpixels inside each pixel independently to make type sharp. On the native screen it looks very crisp. But if you resize or rotate an image captured in that state, ugly red and blue color fringes appear as a color distortion artifact.
High-DPI Scaling Pattern for the HTML5 Canvas
To solve this in code, use window.devicePixelRatio to raise the canvas's own physical resolution.
// Get the browser's DPR value and scale up the canvas resolution accordingly
const dpr = window.devicePixelRatio || 1;
canvas.width = cssWidth * dpr;
canvas.height = cssHeight * dpr;

// Adjust the rendering context scale to keep pixel matching in sync
ctx.scale(dpr, dpr);
Code Presentation Methods: Comparison Matrix
We compared the various tools and methods for sharing code, with the pros and cons of each.
| Method / Tool | Export Resolution | Retina Sharpness | SEO and Text Selection | File Size | Ease of Sharing |
|---|---|---|---|---|---|
| Built-in OS capture tool | 1x (depends on monitor) | ❌ Blurry | ❌ Not possible | Small | ⚠️ Medium |
| Dedicated code capture tool (Canvas) | 2x / 3x selectable | ✅ Very sharp | ❌ Not possible | Optimized | ✅ Excellent |
| Carbon / Ray.so | 2x / 4x selectable | ✅ Very sharp | ❌ Not possible | Somewhat large | ✅ Good |
| Embedded viewer (Prism / Shiki) | Unlimited (native) | ✅ Perfect | ✅ Possible | Text-sized | ❌ Can't be shared externally |
| Native SVG | Unlimited (vector) | ✅ Perfect | ✅ Possible | Text-sized | ⚠️ Platform limits |
5 Code Capture Mistakes You Might Be Making
- Capturing on a 1x monitor without zooming the editor: The absolute pixel count is too low, so it will always look blurry on a Retina display.
- Uploading in a lossy format (JPEG): JPEG's discrete cosine transform (DCT) algorithm badly damages the sharp straight lines and symbols of monospace fonts. Always use lossless PNG or WebP.
- Using a small font (under 14px) with no thought for mobile: It may look nice on a PC, but on a phone the text is so small you have to squint.
- Capturing a huge area of empty space and UI: If you capture the whole editor theme, the sidebar, and even the minimap instead of a core snippet of about 10 lines, readers lose focus.
- Pasting a low-resolution image with no resolution handling: If you don't set constraints like
width: 100%; max-width: 600px;in CSS, the browser stretches the image to the edge of the screen and the pixels fall apart.
A 5-Step Workflow for Sharp, Good-Looking Code Cards
- Extract the key snippet: Don't use the whole file. Pick only the core logic you want to show (15 to 20 lines or fewer).
- Choose a high-contrast dark theme: For the best text readability, pick a theme with clear contrast, such as One Dark Pro or Dracula.
- Apply a canvas scale of 2x or higher: Set the multiplier so the output has at least twice the pixel density of its display area (for example, a 1600px image for an 800px viewport).
- Use a readable monospace font: Fonts built for coding, such as JetBrains Mono or Fira Code, support ligatures and give your card a professional look.
- Export in an optimized format: To prevent mosquito noise around text edges, render the final image as a 24-bit PNG or lossless WebP.
7 Tips for Visualizing Code
- Optimize font size for social media: If you post to feeds that people mostly read on mobile, such as Twitter or LinkedIn, use a font size of at least 16 to 18px.
- Zoom in your editor before a manual capture: If you have to capture with a keyboard shortcut and no other tool, press Cmd + '+' (Ctrl + '+') two or three times in your editor to physically enlarge the text, then capture.
- Match a 2x logical resolution: If an image will fill an 800px area, make it 1600px wide so the pixel density is packed in.
- Stick to PNG or WebP: Once an image with code passes through JPEG even one time, the quality loss can't be undone.
- Add window chrome for context: The traffic-light buttons, soft shadow, and title bar at the top tell viewers the code is a "runnable program," not just plain text.
- Use focus and background tints: Give the key changed lines (active lines) a light background color, and lower the opacity of the rest to guide the reader's eye.
- Use an automated web-based code card maker: Use our tool, Code Screenshot Beautifier, to handle all of these settings in one click.
Decision Tree: How Should You Share Your Code?
- Case A: You're writing on your personal blog or in an internal Notion or Confluence page ➔ Interactive text block (Shiki / Prism). Readers need to copy and paste the code, so text-based output is a must.
- Case B: You're promoting code visually on Twitter, Facebook, LinkedIn, Instagram, and similar sites ➔ A static code card at 2x resolution (canvas image). In social feeds, an eye-catching, readable design and a good thumbnail matter more than copying.
- Case C: You're attaching code to a GitHub README or a technical whitepaper ➔ Native SVG or lossless WebP. A vector format that stays sharp when you zoom in is the ideal choice.
Key Terms and Cheat Sheet
- Device Pixel Ratio (DPR): The number of physical pixels used to draw one logical CSS pixel on a screen. The higher the number, the denser and sharper the display.
- Retina: Apple's marketing term for high-resolution displays, meaning a level where the human eye can't tell individual pixels apart (generally a DPR of 2 or higher).
- Subpixel Rendering: An operating-system-level rendering technique that controls the R, G, and B elements of each pixel separately to draw smoother font curves.
- Interpolation Artifact: The smudging that happens when a browser fills in empty space while forcibly enlarging a low-resolution image.
- Monospace Font: A font made for programming in which every character has the same width, so code indentation and vertical alignment line up perfectly.
- Lossless Compression (PNG/WebP): An image format that loses no data during compression, so the edges of letters stay razor sharp.
- Canvas Scaling: A technique that separates the logical size of an HTML5 canvas from its physical resolution, so graphics render sharply on high-resolution devices.
Frequently Asked Questions
Can I sharpen a blurry screenshot I already took?
No. Pixel information that was never captured can't be recovered by enlarging the image. The upscale and sharpen features in image editors only interpolate the pixels that exist, so the image looks a little less blurry to your eye. If you need a sharp result, paste your original code again and render it fresh at a high scale.
Where can I check the pixel dimensions in an image's properties?
On a Mac, select the file and press Cmd+I (Get Info). The "Dimensions" entry shows width × height in pixels. On Windows, open the file's Properties window and go to the "Details" tab. There you'll find "Width" and "Height" listed separately from "Size."
My syntax highlighting isn't working. Is that related to resolution?
No. Resolution is about pixel count. Syntax highlighting is a separate feature that colors language keywords differently. Code Screenshot Beautifier draws code in a single-color monospace font, so it doesn't apply syntax-based coloring. The resolution is fixed at 2x, though, so the output won't turn out blurry.
What resolution is big enough for Twitter or Instagram?
Each platform has a different actual display width, and the policies change often, so it's hard to give an exact number. But if you follow the "at least 2x the display width" rule above, you'll avoid blur from enlargement in most cases.
Why do code screenshots get blurry and smudged more easily than ordinary landscape photos?
In an ordinary photo, color changes between pixels form smooth gradients, so interpolation algorithms can fill in missing pixels without much visible effect. A code screenshot is different. A dark background and bright, sharp font outlines create extreme high contrast. Edges that artificial and sharp look seriously blurred if the pixels are even slightly off.
Is a JPEG saved at the highest quality (100%) still a bad choice for code?
Yes. JPEG uses "frequency-based compression (DCT)," which takes advantage of the fact that the human eye is more sensitive to changes in brightness than changes in color. To shrink file size, it shaves down straight lines and sharp corners and blends them with neighboring pixels. That always produces messy speckles around text, known as mosquito noise. Code is text, so always use a lossless format.
Is there an ultimate way to make code look sharp on any monitor or device?
The best method is to put real text in the DOM or on a canvas and let the browser draw it at the native resolution (DPR) of the visitor's device in real time. If you have to distribute an image file, make it very wide, at least 1600px to 2000px, and shrink it with max-width: 100% in CSS. This "down-sampling" technique is the only way to hold up on every high-resolution monitor.
This article was adapted from our Korean original. Read the Korean original