
How Image Pixelation Works: Why a Stronger Mosaic Is Safer
Contents
When you post a photo of your ID, a license plate, or a picture with someone's face in it, "mosaic it" is the first thing many people think of. But most people are vague on what a mosaic is actually computing behind the screen, and how much strength is enough.
A mosaic isn't complicated encryption. It's simple math: split the image into small square blocks and flatten the colors inside each block into a single average. Once you understand that, you can judge for yourself how much strength you need and why a weak mosaic raises concerns.
Summary ① A mosaic splits an image into small square blocks and replaces the colors of the pixels inside each block with a single average value. ② The bigger the block, the more original information gets crushed into one value, so more is lost. The smaller the block, the more of the original arrangement survives. ③ That's why a weak mosaic (a small block) can leave clues about the original shape, and why it's safer to make blocks big when you're hiding sensitive information.
What a mosaic actually computes
A mosaic (pixelation) starts by dividing the whole image into rectangular blocks of a fixed width and height. Each block contains anywhere from dozens to thousands of individual pixels, and each of those pixels has a slightly different color value.
Mosaic processing computes the average of every pixel color in a block, then repaints the entire block in that one average color. The subtle color differences and shape details inside the block disappear during that calculation, and all that's left on screen is a grid of big square tiles.
Block size changes how much information is lost
The key variable is the size of a single block. The bigger the block, the more original pixels it holds, and the more color information gets compressed into one average value. The more information there was before compression, the greater the irreversible loss when only the average remains.
A smaller block, by contrast, averages fewer pixels, so the average often stays close to the colors that were originally there. As a result, the big contours or edges of the original may still be faintly visible on screen.
Why a weak mosaic raises concerns
With a small block, less information disappears in the averaging, so even if you can't know the exact original color of any single tile, the overall shape or pattern of edges the tiles form can still come through. That's why a very weak mosaic raises the concern that it leaves clues about "roughly what shape was there," even if it doesn't reveal the exact original colors.
This isn't a matter of whether some specific recovery program exists. It's a property of the averaging calculation itself. The narrower the averaging range (the block size), the smaller the difference between original and result; the wider it is, the bigger that difference. That alone tells you why stronger mosaic is the safer direction.
It works differently from blurring
Blurring mixes each pixel's value gradually with its neighbors. Edges don't cut off sharply; they fade smoothly, so with weak strength the outline of the original shape can still show through as a soft gradient.
A mosaic, on the other hand, defines fixed regions called blocks and replaces everything inside each region with a single average value. If you make the block big enough, the original values inside that region mathematically survive only as one number, so it's easier to dial in a strength that erases information more thoroughly than blurring does.
Upload an image and pixelate it right in your browser — adjust the strength and download a PNG, with no upload to a server
How the tool handles this calculation for you
With the Pixelate / Censor tool, you just drag and drop or click to upload an image and it applies the block-averaging calculation described above right away, showing you a preview. You don't have to divide up block coordinates or compute averages yourself.
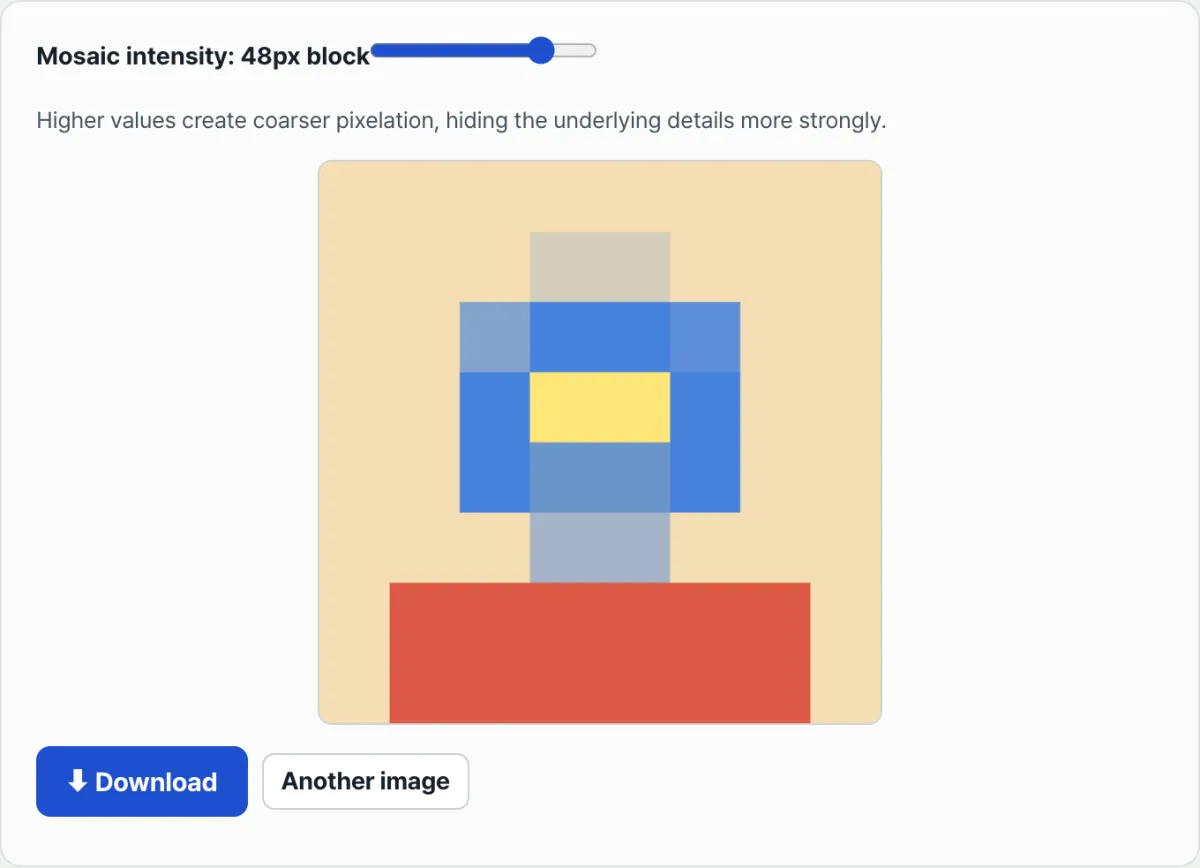
The "Pixelation strength" slider on screen is the block size. Move the slider and the preview immediately recalculates with the new block size, so you can see side by side how much more of the original shape disappears as you raise the value. All the processing happens in your browser, and your image is never sent to a server.
What standard should you use to set the strength?
There's no fixed, absolute strength number. But if you apply the principle above, the test is simple: raise the slider until you can't even guess the shape of what used to be there in the preview.
For something that really needs to be hidden — a face, text in a document, a license plate — it's safer in principle to go strong enough that no trace of the original shape remains, rather than setting it low and moving on. One note: this tool pixelates the entire uploaded image, so if you want to hide only a specific area, crop that area out first and then process it.
The bottom line
- A mosaic splits an image into small square blocks and replaces the colors of the pixels inside each block with a single average value.
- The bigger the block, the more pixels get averaged, so more of the original information disappears, and more of it disappears for good.
- With a small block, less is lost to averaging, so the original's big contours or edges can survive, which means a very weak mosaic can become a clue about the shape.
- Blurring mixes values gradually, so weak settings tend to leave outlines behind, while a mosaic with a big enough block reliably crushes the information in that region into a single value.
- When hiding something sensitive, it's safer to push the strength (block size) high enough that the preview gives no hint of the original shape.
Upload an image and pixelate it right in your browser — adjust the strength and download a PNG, with no upload to a server
Frequently asked questions
Can a pixelated image be restored to the original?
The moment a block's individual pixel values are combined into a single average, they're gone as far as the math is concerned, so there's no calculation that recovers which color was where inside that block. That said, if the block is very small, the average itself stays close to the original colors and can still be a clue that hints at the overall shape. That's a question of how much information exists, not of unpacking a compression format.
What pixelation strength (block size) is safe?
There's no fixed standard. In principle, bigger blocks mean more loss from averaging and less chance of the original shape surviving, so when you're hiding sensitive information, look at the preview and raise the strength until you can't make out the original shape at all.
Which is safer, blurring or pixelating?
They work on different principles. Blurring gradually mixes a pixel's value with its neighbors, so weak settings can leave the outline of the original shape as a gradient. A mosaic replaces an entire block region with one average value, so with a big enough block you can more reliably crush the information in that region into a single value.
Can I pixelate only part of an image?
This tool pixelates the entire uploaded image. If you want to hide only part of it — a face, or a section of a document — we recommend cropping out that area first, then running the cropped image through the tool.
This article was adapted from our Korean original. Read the Korean original