
JPG vs PNG vs WebP: Lossy, Transparency, and How to Choose
Contents
This post is for anyone who saved a photo as PNG and watched the file grow to several times its size, or saved a logo as JPG and found the transparent background filled in with white. Here's the short answer: the difference between the three formats isn't a matter of taste — it comes down to two structural properties.
One is does it throw away information when saving (lossy compression). The other is can it hold transparent pixels (alpha channel). Once you know these two axes, you can decide on your own which format to use for a photo, a logo, or a screenshot.
Summary ① JPG is lossy-only and has no alpha channel — it's for photos, where color blends smoothly. ② PNG is lossless and has an alpha channel — it's for logos, icons, and screenshots with hard edges. ③ WebP has both lossy and lossless modes, and both support transparency, so it can be your default for anything you put on the web.
The two axes that separate the three formats
There are really only two criteria for picking a format. Everything else follows from them.
| Format | Compression | Transparency (alpha) |
|---|---|---|
| JPG (JPEG) | Lossy only | No |
| PNG | Lossless only | Yes |
| WebP | Both lossy and lossless | Yes, in both modes |
Lossy compression actually discards information your eye is unlikely to notice, and that's how it shrinks the file. Once information is thrown away, opening the file again won't bring it back.
Lossless compression doesn't change a single pixel value — it just writes repeated patterns in shorthand. Decompress it and the original pixels come back exactly.
The alpha channel is a fourth value stored per pixel that records how transparent that pixel is. JPG has no slot for it at all, so there's no way to save a transparent background.
Why photos use JPG
A photo is an image where neighboring pixels differ only slightly in color. Long runs of exactly identical color — like a gradient in the sky — are rare.
PNG's lossless compression works by finding "same as or close to the previous pixel" patterns and shortening them, so on a photo with nothing repeating there isn't much to cut. That's why saving a photo as PNG makes the file much bigger.
JPG does the opposite: it splits the image into small blocks and converts them into frequency components (discrete cosine transform), then discards the high-frequency parts your eye notices less. Many encoders also store color information at a lower resolution than brightness (chroma subsampling).
In a photo, the information thrown away this way is hard to see. So for the same picture, JPG ends up far smaller — which is why cameras and the web use JPG for photos.
Why logos and screenshots use PNG
Logos, icons, and screenshots are the exact opposite of photos. Large areas share one color, and the edges of letters and lines drop off razor sharp.
Lossless compression works well on this kind of image. Repeated flat color can be written in shorthand, and when the color count is low, PNG's indexed mode (a palette holding up to 256 colors) shrinks it further.
JPG, by contrast, runs into trouble at edges. A sharp color change is a high-frequency component, and JPG throws away exactly that, so smudges spread around letter outlines and colors get mushy. That's why text looks messy when you save a document capture as JPG.
On top of that comes the transparency problem. If you need a logo with a see-through background, JPG is off the table entirely.
When to use WebP
WebP packs both of those properties into a single format. You can choose lossy or lossless mode, and both support an alpha channel.
So for anything you're putting on the web, you can standardize on WebP whether it's a photo or a logo. Save photos in lossy mode and logos or screenshots in lossless mode.
Lossy WebP does have the same limitation, though. By spec, lossy WebP uses only the 8-bit Y'CbCr 4:2:0 format, so color information is stored at half resolution in both directions.
Save a text-heavy image as lossy WebP and the edges go soft, much like JPG.
Browser support is no longer a hurdle. Safari, the last holdout, has displayed WebP since version 14 (2020, macOS Big Sur).
There is one limit in the spec: a WebP image can be at most 16383 pixels on each side.
The order to decide in
You don't have to agonize over all three formats. Answer these in order and one will be left standing.
- Do you need a transparent background? If so, JPG is out. That leaves PNG or WebP.
- Is the image mostly text, lines, and flat color? Then lossless is right. Use PNG, or lossless WebP.
- Does color blend smoothly, like a photo? Then lossy is right. Use JPG or lossy WebP.
- Are you putting it on a web page, or handing over a file? For the web, WebP. If you're passing a file around, JPG or PNG is safer, since the other person can definitely open it.
How to check for yourself without any tools
Choosing a format comes down to a simple check: which one is smaller for this image. Here's the order to check in, no special software needed.
Step 1: Find out what format the file actually is
An extension is just a name, so renaming .jpg to .png doesn't change what's inside. On macOS, right-click the file and choose "Get Info"; on Windows, open "Properties" to see the real type.
Step 2: Check whether there's any transparency
If the background shows up as a gray checkerboard in an image viewer or editor, the file has an alpha channel. If it looks white, that isn't transparency — those are white pixels.
Step 3: Save the same image in two formats and compare the file sizes
On macOS, use File → Export in Preview; on Windows, use Save As in Paint. Either one lets you save as both JPG and PNG. Then set the two file sizes side by side and the answer is obvious.
WebP often isn't in the format list, though. If you don't see it, compare WebP using the console method below or a browser-based conversion tool.
You can run the same comparison in your browser's developer tools console (usually F12). Pick an image already on the page and paste this in.
const img = document.images[0];
const c = document.createElement("canvas");
c.width = img.naturalWidth;
c.height = img.naturalHeight;
c.getContext("2d").drawImage(img, 0, 0);
["image/jpeg", "image/webp", "image/png"].forEach((type) =>
  c.toBlob((b) => console.log(type, b.size), type, 0.7)
);
The console prints one line per format with the byte count. Conversions are asynchronous, so the lines may come out in a different order — read the format name in front of each number. PNG is lossless, so the quality value (0.7) doesn't apply to it.
Images loaded from another site hit security restrictions, so test with an image from the same site.
Step 4: Zoom to 400% and look at the edges
If you see smudges or bleeding around the edges of letters or a logo that weren't there before, the file went through lossy compression. This is an image that should be saved lossless.
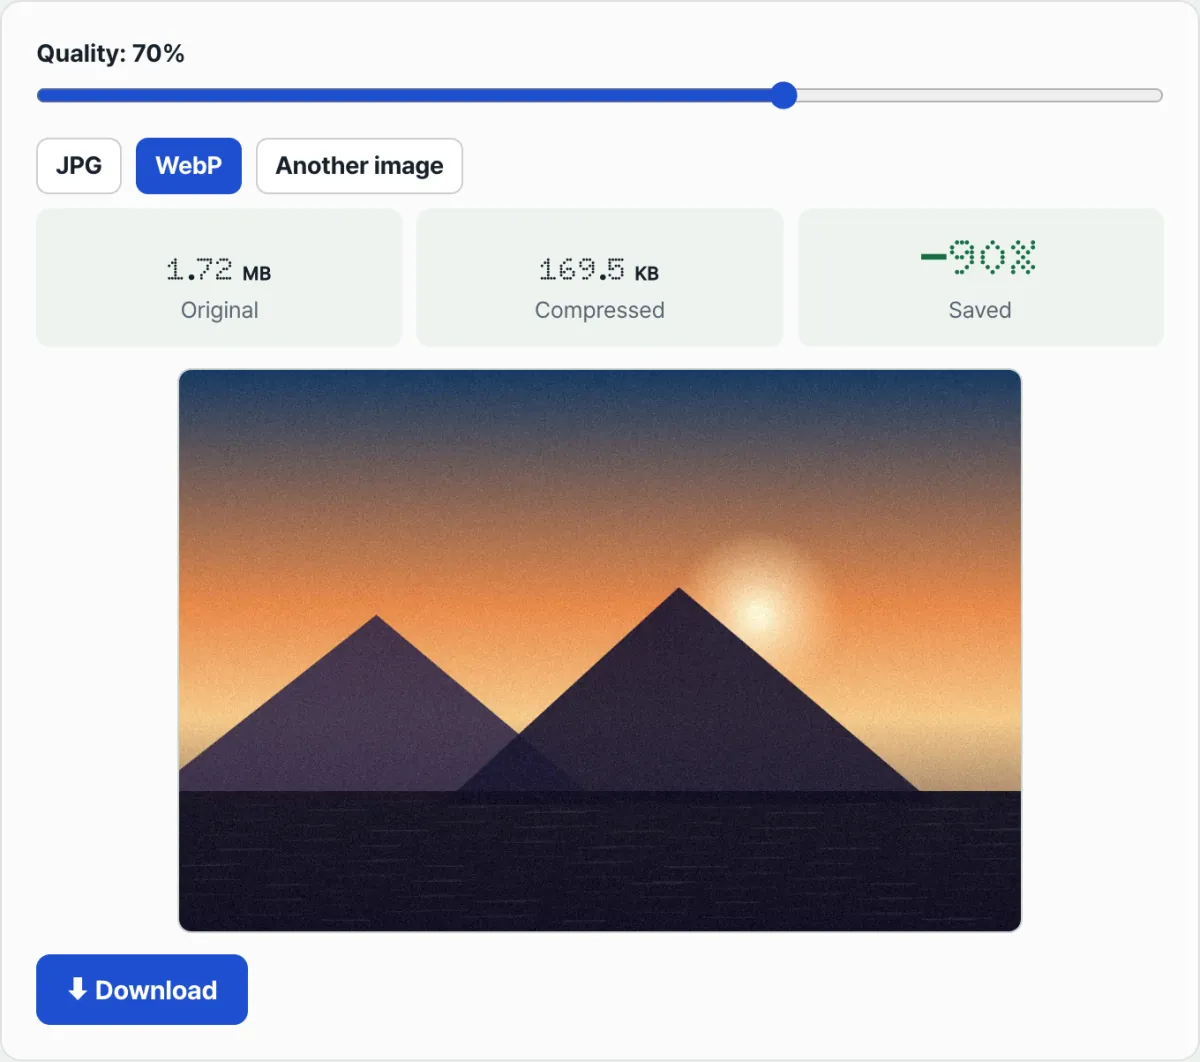
Check it with our free tool, Image Compressor. Drag and drop an image and you'll get the original size, the compressed size, and the savings in one line. The quality slider and JPG and WebP buttons let you compare the same image in two formats right away.
No install and no sign-up — compression runs right in your browser, and your images are never uploaded to a server.
Where people commonly get stuck
| Situation | What happens |
|---|---|
| Saving a transparent PNG as JPG | The transparent area gets filled with a solid color (white, in our tool) |
| Opening a JPG and saving it as JPG again | Each save piles on more loss |
| Saving a screenshot or document capture as JPG | Smudges appear around the edges of letters |
| Saving a photo as PNG | Image quality stays the same, but the file gets much bigger |
Just changing the extension to .png | The contents are still JPG |
| An image larger than 16383 pixels on a side | It can't be saved as WebP |
The least reversible mistake is the second row. Every time you open a JPG and save it again, fresh loss is layered on, so editing and saving the original repeatedly makes it get slightly mushier each time.
The safer habit: keep the file you're working on in a lossless format and export to JPG just once, at the end.
Summary
- Format choice comes down to two questions: does it lose data, and does it support transparency?
- JPG is lossy only and has no alpha channel, which makes it a good fit for photos with smooth color transitions.
- PNG is lossless and has an alpha channel, which makes it a good fit for logos and screenshots with lots of text, lines, and flat color areas.
- WebP has both lossy and lossless modes plus transparency, so it works well for the web. Its maximum size is 16383×16383 pixels.
- Lossy WebP still reduces color data to save space, so for images with a lot of text, go with lossless.
- If you're not sure, save the same image in both formats and compare the file size and the zoomed-in view yourself.
No install and no sign-up — compression runs right in your browser, and your images are never uploaded to a server.
Frequently asked questions
Why did the background turn white when I converted a transparent PNG to JPG?
JPG has no alpha channel, so there's nowhere to store a transparent pixel. When you convert, the transparent area gets filled with a solid color before the file is saved.
This tool works the same way. If you pick JPG, it paints the canvas white first and then saves, so a transparent background comes out white. If you need to keep transparency, leave the file as PNG or pick the WebP button in this tool instead.
Does saving a photo as PNG make the quality better?
No. Lossless means "preserves the pixels you already have," not "improves quality." If you take a photo that's already saved as JPG and change it to PNG, the information that was already discarded doesn't come back — the file just gets bigger.
That said, if it's a working file you plan to edit many times, there is a point to keeping it lossless so the damage doesn't keep piling up.
Is it okay to use WebP now?
If you're displaying images in a browser, it's fine. Safari, the last holdout, has displayed WebP since version 14 (2020, macOS Big Sur).
But for files that leave the web — messenger attachments, documents, print shop drop-offs — the program on the other end may not be able to open them, so sending JPG or PNG is safer.
Do my compressed images get uploaded to a server?
No. This tool draws the image to a canvas inside your browser and re-encodes it there, so the file is never sent to or stored on a server.
The tradeoff is that re-encoding strips extra data like EXIF shooting information from the result. If you're about to share a photo that contains location data, that's actually a plus.
This article was adapted from our Korean original. Read the Korean original