
Photo Collage Cropping: Why Edges Get Cut and How to Check
Contents
When you gather several photos into a collage on one screen, a photo that looked perfectly fine can come out with the side of a face or the edge of the frame cut off. This isn't an editing mistake. It happens when the photo's aspect ratio differs from the cell's aspect ratio, and it's a structural result of the "crop from the center" method that collage tools use across the board.
This post explains how to calculate in advance which direction gets cut and how much, using nothing but the aspect ratios of the photo and the cell.
Summary ① A collage fills each cell with the photo using a "cover" fit, so when the photo ratio and the cell ratio differ, the leftover part gets cut off. ② If the photo is wider than the cell, the left and right sides are cut. If the photo is taller than the cell, the top and bottom are cut. ③ Once you know the difference between the photo ratio and the cell ratio, you can calculate the direction and amount of cropping before you even start.
Why does a perfectly good photo look cropped at the edges?
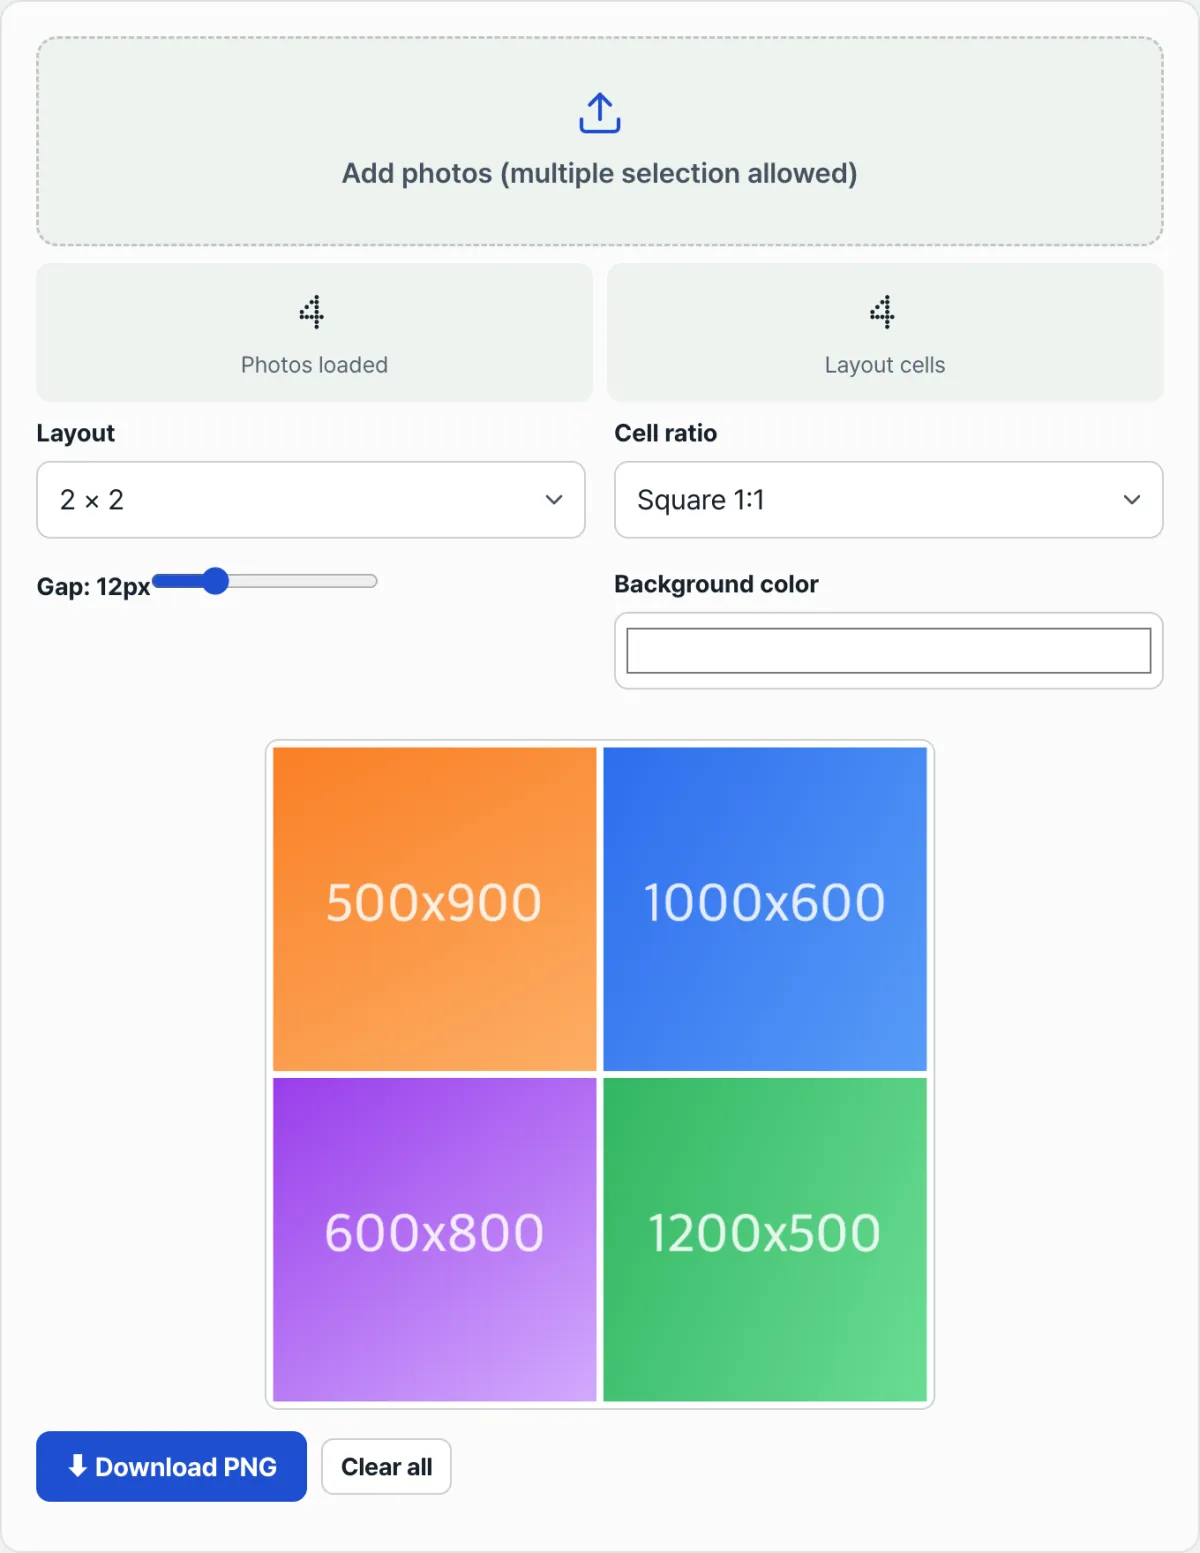
Imagine putting a portrait shot taken vertically on a smartphone into the same collage as a landscape shot taken horizontally. When you pick a layout, the collage tool unifies the aspect ratio of every cell into one. If you choose a square cell ratio (1:1), both the vertical photo and the horizontal photo have to fit into square cells.
The problem is that it's actually rare for the original photo's ratio to match the cell ratio exactly. Whenever the photo has extra room in one direction compared with the cell, that extra part isn't left alone — it's cropped from the center to fill the cell. This fill method is commonly called "cover," and instead of leaving blank space, it always chooses to fill the cell completely.
How to check the cropping direction and amount in advance with math
You can check this without any tool. There's just one criterion: compare the photo's width ÷ height against the cell's width ÷ height. If the photo ratio is larger than the cell ratio (the photo is relatively wider than the cell), the left and right sides get cut. If the photo ratio is smaller than the cell ratio (the photo is taller than the cell), the top and bottom get cut.
For example, say a landscape photo has a ratio of 4:3 (about 1.33) and you choose a square cell (1:1, ratio 1). The photo ratio is larger than the cell ratio, so the left and right sides get cut. The cropped width can be calculated as "1 − cell ratio ÷ photo ratio," so in this case about 25% disappears (12.5% on each side).
In the other direction, if you put a vertical portrait photo (ratio about 0.75) into a wide cell (16:9, ratio about 1.78), the top and bottom get cut, and here the formula "1 − photo ratio ÷ cell ratio" gives about 58% lost. With vertical photos, the face or upper body can get cut off from the top along with everything else, so be careful.
You can check a photo's pixel width and height right away in your photo app's info view or in the file properties. If you calculate the ratio from those numbers ahead of time, you can decide which cell ratio to pick so a particular photo won't be cropped — or whether you should trim the photo yourself first.
Doing the math by hand for every photo, and then swapping layouts and cell ratios to figure out which combination doesn't crop anything, gets more tedious the more photos you have. Check it with our tool.
Free · No sign-up · Photos are processed only in your browser
Common sticking points
| Situation | Cause | How to check and fix it |
|---|---|---|
| The top of a person's face gets cut off | A vertical photo was placed in a square or wide cell | Change the cell ratio to "Portrait 3:4," or crop the photo to the cell ratio beforehand |
| Both ends of a panorama get cut off badly | The photo ratio is much wider than the cell | Choose a wide cell such as "Landscape 4:3," or switch to a layout with wider cells |
| Fewer photos than cells | Unfilled cells stay light gray | Add more photos, or choose a layout with fewer cells |
| More photos than cells | Only as many photos as there are cells are placed, from the front, and the rest are left out | Switch to a layout with more cells (for example, 3×3) |
The short version
- A collage fills each cell with the photo using a "cover" fit centered on the middle.
- If the photo ratio is wider than the cell, the left and right sides get cut. If the photo ratio is taller than the cell, the top and bottom get cut.
- The amount of cropping can be calculated from the difference between the two ratios alone, so you can predict it before you start.
- If a specific part absolutely has to stay in the frame, the surest approach is to crop the photo to the ratio you want before adding it to the collage.
Free · No sign-up · Photos are processed only in your browser
Frequently asked questions
Can I choose where each collage cell crops?
Right now the tool always crops the leftover part based on the exact center of the photo, and there's no way to set a separate crop position for each cell. If a face or a particular subject isn't in the center, the reliable fix is to crop the photo beforehand so the part you want sits in the middle before you add it to the collage.
What happens if I add fewer photos than there are cells?
Unfilled cells stay as a light gray background, and no warning message appears. If you want a finished collage with no empty cells, either add as many photos as the layout has cells, or pick a smaller layout that matches the number of photos you have.
What format is the finished collage saved in?
The finished collage downloads as a PNG file. The output's width is about 1200px regardless of the layout, and the height depends on the cell ratio and number of rows you choose.
Are my photos uploaded to a server?
No. Everything from loading the photos to compositing them into the grid and generating the preview happens entirely inside your browser. No photo is ever sent to or stored on a server.
This article was adapted from our Korean original. Read the Korean original