
How Photo Filters Work: Why the Same Preset Looks Different
Contents
You've probably put a vintage filter on a photo and had one shot come out great while another looked muddy and off. The preset is the same and the intensity is the same, but the results differ from photo to photo. That's because a filter doesn't lay a fixed color over the image. It's a relative calculation based on the color values already in the original photo.
Summary ① A photo filter doesn't paint a fixed color onto the original. It multiplies or adds to contrast, saturation, and brightness based on the original pixel values. ② So the darker or more saturated a photo already is, the more the same filter values will change the result. ③ The filter intensity slider doesn't reduce the filter values themselves. It blends the filtered result with the original.
The problem: why the same filter looks different on every photo
It's common to apply the same vintage filter to two travel photos and have one come out with a soft sunset glow while the other turns hazy and washed out. The preset name and intensity number are the same, so the results should match, but in practice they don't.
It's easy to assume the tool is secretly applying different values to each photo, but this is normal behavior caused by the filter being a relative calculation that uses the photo's existing colors and tones as input. Once you understand the calculation, you can predict why it happens and which filters suit which photos.
The solution: how filters actually calculate
Most filter and adjustment features in photo editors don't draw new colors from scratch. They work the same way as the web standard CSS filter functions. Functions like sepia(), contrast(), saturate(), brightness(), and grayscale() don't "paint a set color." They apply multiplication and addition to each pixel's existing values.
You can see this for yourself with nothing more than browser developer tools. Upload any photo to a webpage, open Inspect, and apply the style filter: sepia(0.85) contrast(1.05) to the image. You'll immediately see the results differ between a bright original and a dark one.
In other words, even with the same sepia(0.4), a photo with strong blue tones and a photo that's already yellow will inevitably calculate different results. The translucent overlay or vignette that comes with a preset is added as a fixed value regardless of the photo, but the key point is that the filter function itself is applied relative to the original.
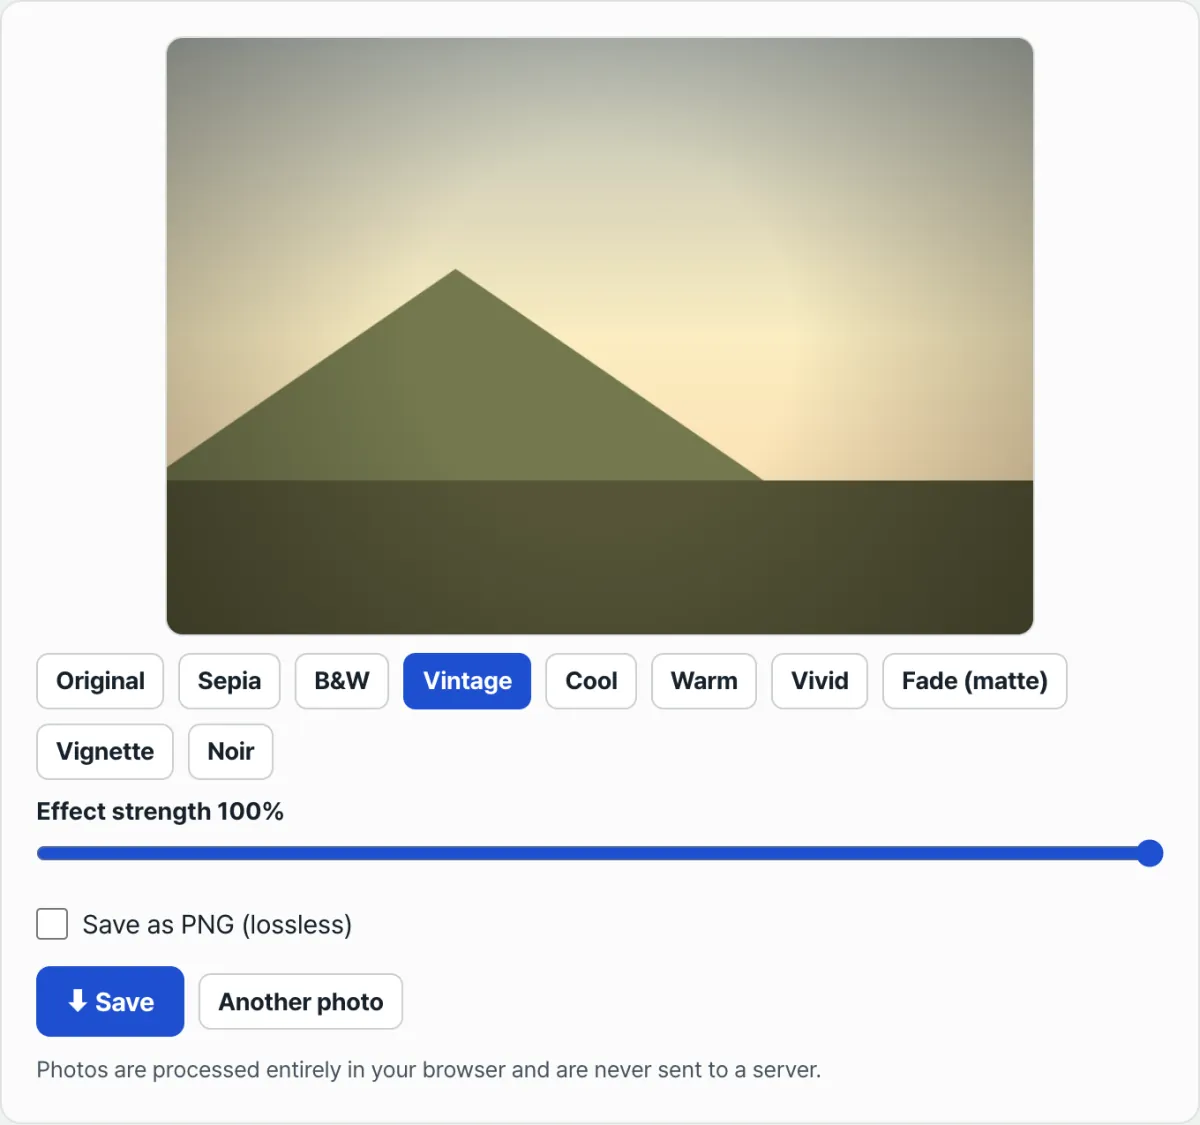
Try it on a real photo with our tool. Upload a photo and compare how the calculated result changes from preset to preset.
Free · No sign-up · Photos are processed only in your browser (never sent to a server)
What the filter intensity slider really does
When you see "Effect strength 70%," it's easy to think the filter values themselves are reduced to 70%, but that's not how it works. The preset is first calculated at full 100% strength, and then the original photo is drawn over that result at the chosen transparency. In other words, the intensity isn't a filter strength control. It's the ratio for mixing the "finished filtered photo" with the "original photo."
Because of this, lowering the intensity doesn't make the filter faintly weaker. It eases off by letting the original's crisp detail show through again. Each preset stacks a different set of calculations, as shown below.
| Preset | Filter functions | Additional layers |
|---|---|---|
| Sepia | sepia 0.85 + contrast 1.05 | None |
| Vintage | sepia 0.4 + contrast 0.9 + brightness 1.05 + saturate 0.85 | Orange overlay 12% + vignette |
| Cool | saturate 1.1 + brightness 1.02 | Blue overlay 14% |
| Warm | saturate 1.15 + brightness 1.03 | Orange overlay 14% |
| Vivid | contrast 1.15 + saturate 1.35 + brightness 1.02 | None |
| Fade (Matte) | contrast 0.85 + brightness 1.1 + saturate 0.9 | White overlay 8% |
| Noir | grayscale 1 + contrast 1.4 + brightness 0.95 | Vignette (strong) |
As the table shows, presets with an overlay (a color layer) or a vignette (darkened edges) add a consistent tone regardless of the photo's brightness. But the filter functions themselves are applied relative to the original pixel values, so mixing the two elements is what makes the final result differ from photo to photo.
The takeaway
Getting different results from the same filter at the same intensity isn't a bug. It's because the filter functions are relative calculations based on the original color values. Keep in mind that the effect strength slider doesn't reduce filter strength either. It's the ratio for mixing the finished filtered photo with the original, and that makes the results easier to predict.
When you're not getting the look you want, check the original photo's brightness and saturation before you blame the filter.
Free · No sign-up · Photos are processed only in your browser (never sent to a server)
Frequently asked questions
If I set the filter intensity to 50%, does it apply only half the effect?
No. The filter is calculated at 100% strength, and then that result is mixed with the original photo at a 5:5 ratio of transparency. So 50% doesn't make the filter blurry. It lets about half of the original's colors and detail show through again.
Why does sepia look messy on dark photos?
Filter functions like sepia calculate based on the brightness and saturation of the original pixels, so photos that are already dark or full of shadows can end up with colors that clump together or look muddy. Bright photos with even contrast tend to come closer to the intended tone.
Should I save as JPG or PNG?
For sharing, a smaller JPG is enough in most cases. If you plan to edit the filtered photo again or keep it for printing without quality loss, PNG (lossless) is the better choice.
Are my photos uploaded to a server?
No. The filter calculations happen only inside the browser's canvas. Neither your original photo nor the resulting image ever leaves your device.
This article was adapted from our Korean original. Read the Korean original