
Watermark Placement: Why Corner Watermarks Vanish With One Crop
Contents
A lot of people watermark a photo by tucking a small line of text into one corner. But that spot can be erased with a single crop in any photo editor. Here's why placement decides everything: put the watermark in a corner and one crop can remove it, put it across the whole frame and one crop can't.
Summary ① If the watermark sits in just one corner, cropping out that corner makes it disappear entirely. ② If you tile the text densely and diagonally across the whole photo, removing it with a crop would mean cutting away most of the image, so the thief has to give up the original. ③ Opacity and font size only change how noticeable the text is. What drives crop resistance most is placement — corner versus repeat.
Why a corner watermark disappears with one crop
Say you add a small copyright line or account name to the bottom right of a photo and post it online. Someone takes the photo, opens a photo editing app, selects everything except that corner, and applies a crop once. What they end up with is a clean photo with the text completely gone.
Cropping keeps only the rectangular area you select and throws away every pixel outside it. If the watermark text exists only inside one particular rectangle of the image, then cutting that rectangle out takes the pixels that formed the text with it.
This works the same way in every program that has a crop tool: a phone's photo app, the picture cropping in a presentation program, a web-based image editor. No special eraser or inpainting needed — the basic crop tool alone can remove a corner watermark.
Why tiling the text across the whole photo makes crop removal hard
Tile the text densely and diagonally across the entire photo and the situation changes. When the spacing between the lines is small compared to the size of the photo, it becomes hard to find a rectangle inside the image that doesn't catch any of the text.
To remove every bit of the watermark with cropping alone at that point, you'd have to keep a tiny area where the text doesn't land and discard the rest. That means cutting away most of the photo along with it, so wiping out the watermark while keeping the original photo intact becomes practically impossible.
That said, this means "hard to remove with a simple crop," not "impossible to remove by any means." A sophisticated image restoration tool can erase tiled text too, but it takes far more time and effort than a corner watermark that's gone in one crop.
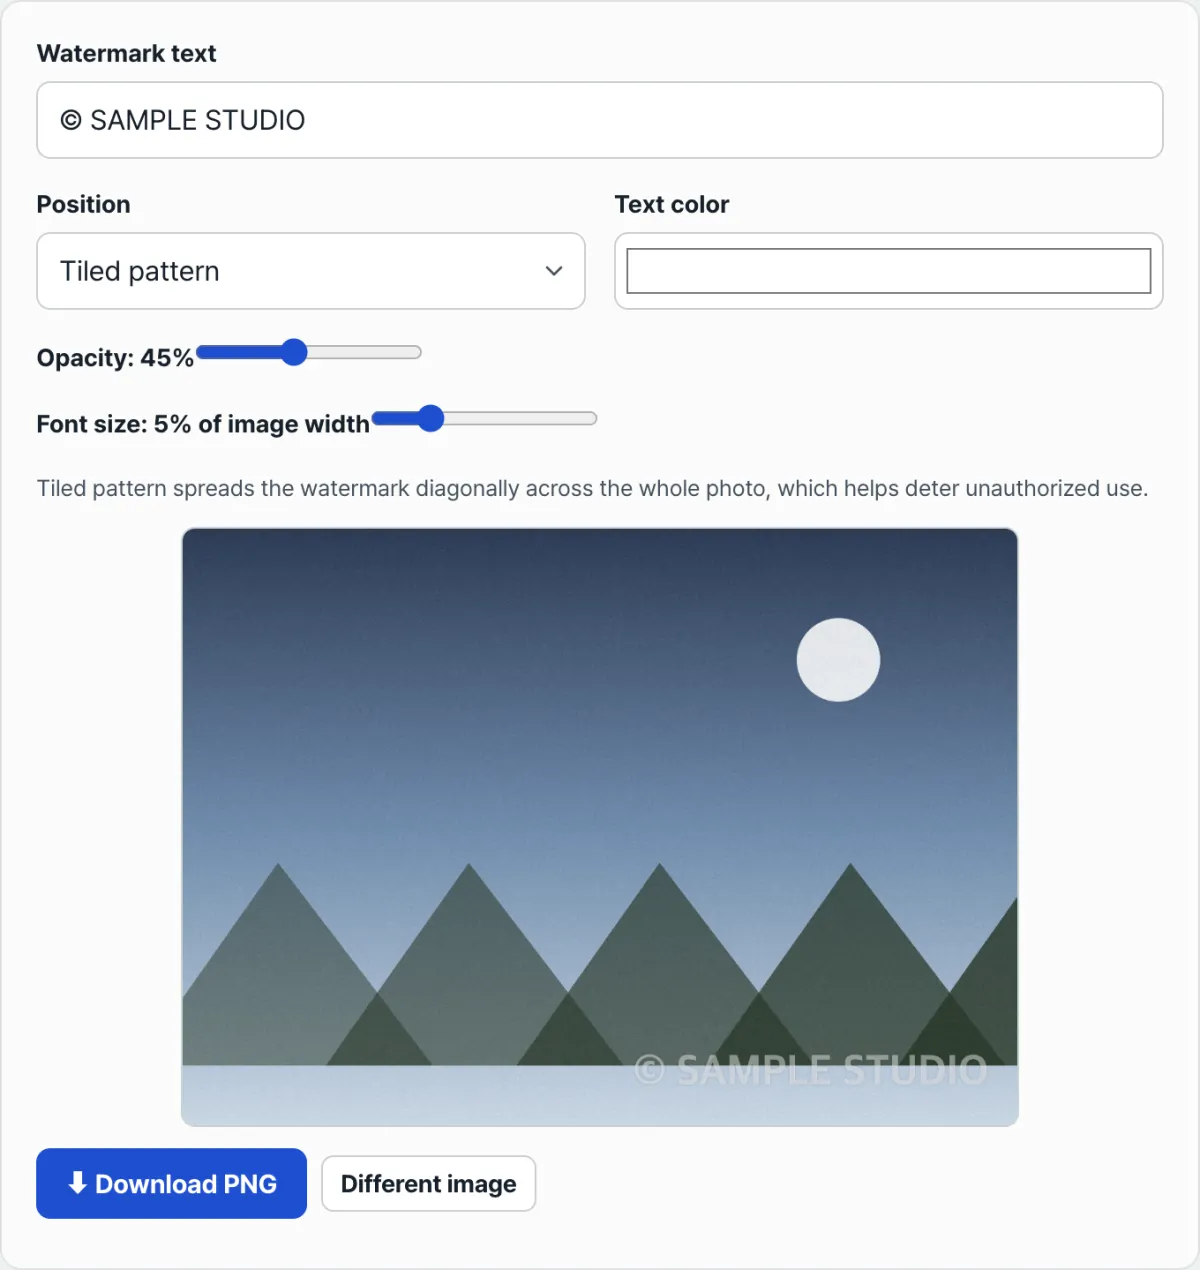
Check it with our tool. Comparing results across placements means changing position, opacity, and font size one at a time — and doing that by drawing and saving new text in an image editor every single time gets tedious.
Free · No sign-up · Images are processed only in your browser (no server upload)
Where people get stuck
| Placement | Removal with a crop | Works well for |
|---|---|---|
| One corner (bottom right, etc.) | Crop out that corner and it's gone entirely | Light source credit |
| Center | You'd have to crop out the middle, losing most of the photo | Sharing drafts and previews |
| Tiled repeat | Hard to find an area where no text lands | Pre-sale previews, discouraging unauthorized use |
Lowering the opacity hides less of what the photo actually looks like, but the text still stays visible on screen. That's also the difference from metadata such as shooting location, which you can't tell at all just by looking at a photo — a watermark is a mark etched in to be seen from the start.
The bottom line
- If the watermark is in just one corner, the basic crop tool alone can remove it entirely by cutting out that spot.
- If you tile the text densely and diagonally across the whole photo, removing it means sacrificing most of the image along the way, which makes it much more crop-resistant.
- That difference comes from placement (corner vs. repeat), not from opacity or font size.
- Tiled text isn't absolute protection against a sophisticated restoration tool either, but it demands far more effort than a simple crop.
Free · No sign-up · Images are processed only in your browser (no server upload)
FAQ
Does adding a watermark change the original photo file?
No. The original file stays as it is, and the watermarked version is created and downloaded as a separate new PNG file. You can keep the original and the watermarked version side by side.
Is my uploaded photo sent to a server?
No. Loading the image, compositing the watermark, and producing the result all happen in a canvas inside your browser. No file is sent to or stored on a server.
Can I add a logo or image file as a watermark?
This method is for text only. There's no option to overlay a logo image, but you can add a brand name or copyright line freely with your choice of color and opacity.
If I make the watermark bold and large, can a crop never remove it?
No. Opacity and font size only change how noticeable the text is — they have nothing to do with whether a crop can remove it. No matter how bold you make it, if it's in a single corner, cropping out that corner removes it. What determines crop resistance is whether the placement spreads across the whole photo.
This article was adapted from our Korean original. Read the Korean original