
YouTube Subscribe Button Sizes & Transparent PNG Guide
Contents
- 1. Why You Need a Subscribe Button Graphic
- 2. Building a Transparent PNG Button That Meets YouTube's Standard Specs
- 3. YouTube Brand Specs at a Glance
- 4. Placement Strategy and Where the Eye Goes
- 5. Brand Guidelines and Copyright Rules
- 6. How to Apply It in Video Editing Apps
- Frequently Asked Questions
- The Bottom Line
When you search for a graphic button to prompt subscriptions on your YouTube videos, you often run into templates with low resolution or colors that don't match YouTube's official brand colors. Some of them don't have a fully transparent background, so a white or black box shows up when you place them over your video. This post covers how to build a transparent PNG subscribe button yourself using YouTube's official brand colors and resolution specs, plus how to get the same result faster with a tool.
Summary ① Check YouTube's official brand colors, recommended resolution, and aspect ratio specs. ② Build an alpha-channel transparent PNG yourself with the HTML5 Canvas API, or finish it in a few clicks with the generator tool. ③ Review watermark and end screen placement, along with copyright compliance.
1. Why You Need a Subscribe Button Graphic
The share of viewers who watch a video and then subscribe to the channel (subscribe conversion rate) is one of the metrics that shape a channel's long-term growth. Even with high view counts, if viewers leave without subscribing, building a fan base gets harder.
That's why many editors and creators overlay a subscribe (SUBSCRIBE) call-to-action graphic on the bottom-right branding watermark, in the end screen outro, and at highlight moments in the middle of the video.
The problem is that free templates downloaded from the internet often have low resolution, don't match YouTube's official brand colors, or lack a fully transparent background, which makes them look off over video. That's why it helps to know how to build one yourself to spec.
2. Building a Transparent PNG Button That Meets YouTube's Standard Specs
With the HTML5 Canvas API in a web browser, you can code a transparent PNG subscribe button that meets YouTube's brand specs without any separate graphics software. Here's how it works and how to implement it.
2-1. How Alpha-Channel Transparent Backgrounds Composite
When a subscribe button is composited over video footage, any opaque white or black box left in the background disrupts the visual flow. That's why you need the 32-bit RGBA PNG format with an 8-bit alpha channel, so everything outside the button graphic is fully transparent (alpha value 0).
When graphics are composited on a Canvas, pixel color is calculated roughly like this.
Final color = (source alpha × source color) + ((1 − source alpha) × background color)
On a transparent background canvas, the background alpha is initialized to 0, so the composited result encodes only the graphic source data as a PNG along with its alpha channel.
2-2. How Corner Radius Is Calculated
When you round the corners to fit the button's width (W) and height (H), the maximum applicable corner radius is calculated like this.
Maximum corner radius = the smaller of half the width and half the height
Clamp the corner radius value (px) the user specifies so it doesn't exceed this maximum, then pass that value straight to ctx.roundRect() or an arc path to render the rounded button.
2-3. Plain JavaScript Code Example
The code below renders a transparent PNG graphic that combines YouTube's standard red background, rounded corners, a shadow effect, and SUBSCRIBE text.
// Function that generates a high-resolution transparent subscribe button on Canvas
function generateSubscribeButton(options) {
  options = options || {};
  var width = options.width || 600;
  var height = options.height || 200;
  var cornerRadius = options.cornerRadius || 24;
  var buttonColor = options.buttonColor || '#FF0000';
  var textColor = options.textColor || '#FFFFFF';
  var text = options.text || 'SUBSCRIBE';

  // 1. Create and initialize an offscreen Canvas
  var canvas = document.createElement('canvas');
  canvas.width = width;
  canvas.height = height;
  var ctx = canvas.getContext('2d');

  if (!ctx) return null;

  // 2. Ensure the canvas background is transparent (Clear Canvas)
  ctx.clearRect(0, 0, width, height);

  // 3. Set up the drop shadow
  ctx.shadowColor = 'rgba(0, 0, 0, 0.25)';
  ctx.shadowBlur = 16;
  ctx.shadowOffsetX = 0;
  ctx.shadowOffsetY = 6;

  // 4. Draw the rounded-corner button background
  ctx.fillStyle = buttonColor;
  ctx.beginPath();
  if (typeof ctx.roundRect === 'function') {
    ctx.roundRect(10, 10, width - 20, height - 20, cornerRadius);
  } else {
    var x = 10, y = 10, w = width - 20, h = height - 20;
    ctx.moveTo(x + cornerRadius, y);
    ctx.arcTo(x + w, y, x + w, y + h, cornerRadius);
    ctx.arcTo(x + w, y + h, x, y + h, cornerRadius);
    ctx.arcTo(x, y + h, x, y, cornerRadius);
    ctx.arcTo(x, y, x + w, y, cornerRadius);
  }
  ctx.fill();

  // 5. Reset the shadow before rendering text
  ctx.shadowColor = 'transparent';

  // 6. Draw the play icon (Play Triangle)
  var iconSize = height * 0.35;
  var iconX = width * 0.18;
  var centerY = height / 2;

  ctx.fillStyle = textColor;
  ctx.beginPath();
  ctx.moveTo(iconX, centerY - iconSize / 2);
  ctx.lineTo(iconX + iconSize * 0.86, centerY);
  ctx.lineTo(iconX, centerY + iconSize / 2);
  ctx.closePath();
  ctx.fill();

  // 7. Render the SUBSCRIBE text
  var fontSize = Math.round(height * 0.32);
  ctx.font = 'bold ' + fontSize + 'px "Pretendard", "Noto Sans KR", sans-serif';
  ctx.fillStyle = textColor;
  ctx.textAlign = 'left';
  ctx.textBaseline = 'middle';
  ctx.fillText(text, iconX + iconSize * 1.2, centerY);

  // 8. Return the transparent background PNG as a Data URL
  return canvas.toDataURL('image/png');
}

// Usage example: get the image Data URL
var pngDataUrl = generateSubscribeButton({
  width: 800,
  height: 240,
  text: '구독하기',
  buttonColor: '#FF0000'
});
console.log('PNG Data URL 생성 완료');
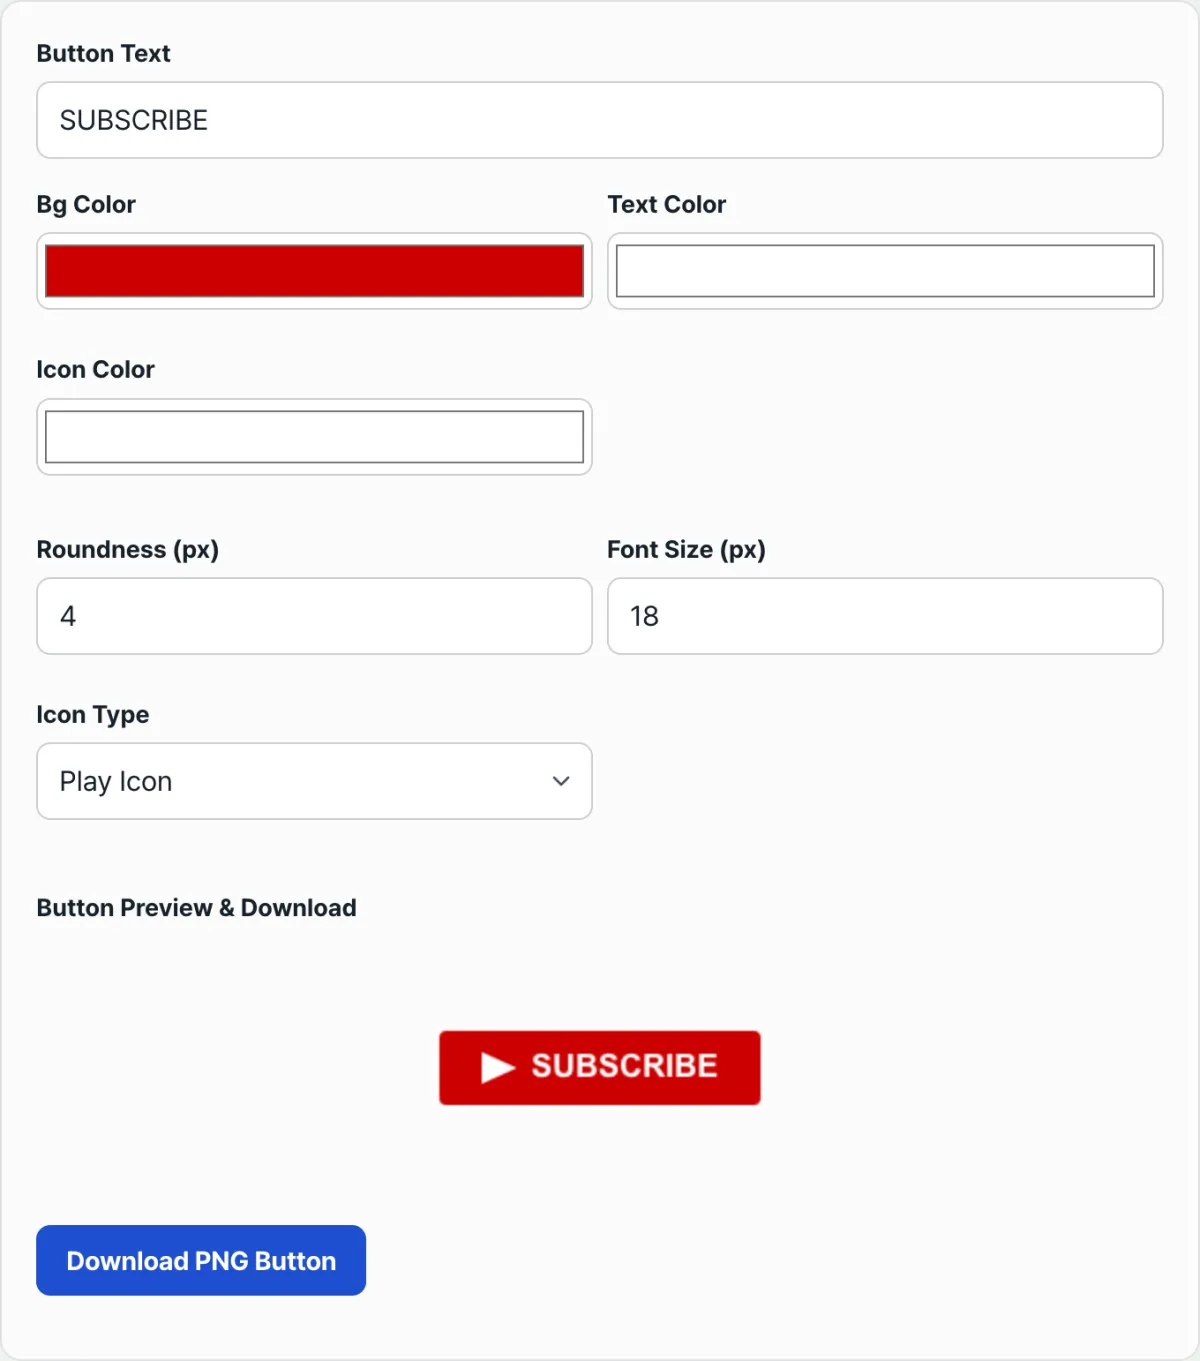
Note You don't have to write the JavaScript yourself or set up a canvas element. With the YouTube subscribe button generator below, you can preview the label (SUBSCRIBE, Subscribe, and so on), corner roundness, button color, and icon type in real time, then download a high-resolution transparent PNG file right away.
If writing the code yourself is a hassle, try it with our tool.
Customize a transparent PNG subscribe button graphic that fits YouTube's standard specs in a few clicks, and download it for free.
3. YouTube Brand Specs at a Glance
| Color | Hex | Use |
|---|---|---|
| YouTube Pure Red | #FF0000 | The official brand red used for the YouTube logo and play button |
| Dark Red (secondary) | #CC0000 | A deeper red you can use for shadows and emphasis (not an officially designated color) |
| Dark Surface Gray | #0F0F0F, #282828 | Reference background tones often seen in YouTube's dark theme UI (not official brand guideline colors) |
| Text & Icon White | #FFFFFF | Color for text and icons |
| Use | Aspect ratio | Minimum resolution | Notes |
|---|---|---|---|
| Video branding watermark | 1:1 | 150 × 150px | The only minimum resolution stated in YouTube's official docs. No separate recommended resolution is published. Just keep the square (1:1) ratio. |
| Horizontal banner for the end screen area overlay | 4:1 or 16:9 | - | There is no fixed pixel spec. In the YouTube Studio end screen editor, you drag and drop it to set position and size against the video canvas. |
| Circular profile for the end screen area overlay | 1:1 | - | Also has no fixed spec. You drag and drop it into place, and it's cropped into a circle. |
Use a PNG or GIF under 1MB with alpha channel support.
4. Placement Strategy and Where the Eye Goes
In YouTube Studio, you can set when your watermark appears under Customization > Branding.
- End of video: It only shows during the last 10–15 seconds. If a viewer leaves early, it never appears.
- Custom start time: It shows starting at a specific second (for example, 30 seconds in). Use this when you want to keep viewers immersed in your opening.
- Entire video: It shows in the bottom right for the whole video. Repeated exposure builds brand awareness, and on desktop, hovering over it brings up a subscribe popup.
People tend to scan a screen from the top left toward the bottom right (the Gutenberg diagram). The bottom right of the video doesn't get in the way of the main content and is where the eye tends to come to rest last, which makes it a good spot for a subscribe button.
During the end screen window (5–20 seconds before the video ends), a common approach is to split the elements up like this:
- Center/left: related recommended video cards or a playlist
- Top right: a card for your latest upload
- Bottom right/center: a transparent PNG subscribe button and your profile icon
5. Brand Guidelines and Copyright Rules
When you use your own custom subscribe button, check YouTube's official Brand Guidelines.
- Don't distort the logo shape: Never stretch the YouTube play icon (Play Button) out of its normal proportions or rotate it.
- Leave the minimum clear space: Keep clear space around the logo graphic equal to at least 50% of the logo's height so no one mistakes it for something else. (clear space ≥ logo height × 0.5)
- Protect the trademark: Avoid adding wording that pairs the "YouTube" word mark with the official logo icon in a way that makes people think it's an official relationship (for example, "YouTube Official Partner Button").
- The upside of a transparent PNG you made yourself: Low-quality templates floating around the internet can lead to copyright disputes or pixelation. A transparent PNG you generate yourself avoids those problems and lets you use whatever resolution you need.
6. How to Apply It in Video Editing Apps
How you add your finished transparent PNG subscribe button to professional video editing software varies a little from app to app.
- Adobe Premiere Pro: Drag and drop the PNG into the Project panel, then place it on the V2 track of the timeline. In Effect Controls, adjust Position and Scale to place it in the bottom right.
- Final Cut Pro X: Place the alpha channel PNG layer above the storyline, resize it with the Transform tool, and combine it with a motion template.
- DaVinci Resolve: Stack the alpha layer on the Edit page timeline. If you leave Composite Mode set to "Normal" in the Inspector, the PNG's alpha transparency applies as-is.
If you want to add motion effects, try these:
- Pop animation: Keyframe Scale from 0% → 115% → 100% over 0.3 seconds as the button appears to create a pop effect.
- Mouse cursor overlay: Keyframe a finger cursor PNG moving in and clicking the subscribe button.
- Click sound effect: Sync a short Mouse Click SFX to the moment of the click on your audio track to pair the visual with the sound.
Frequently Asked Questions
Q1. The PNG I downloaded looks like it has a white or black background. Is it actually transparent?
Yes, it's a transparent PNG. Some photo viewers and browser preview windows show the alpha channel (the transparent area) against a black or white background instead of a checkerboard pattern. Open it in Premiere, Final Cut, Photoshop, or a similar app and the background will show as transparent, so it sits cleanly on top of your video layers.
Q2. What file specs and size should I use when uploading it as a YouTube watermark?
YouTube's official minimum is 150 × 150px, and the file size limit is 1MB or less. Our generator sizes the canvas automatically to fit the length of your text and the margins, so you can't set exact width and height pixel values. That said, the resulting PNG is usually just a few dozen KB, so it's easy to download and place at whatever size you want in your video editor.
The Bottom Line
If you want more viewers to subscribe from your YouTube videos, a transparent PNG subscribe button that follows YouTube's brand specs helps. You can build one yourself with the Canvas API, or use our generator to get the same result without writing any code.
As you make a subscribe button that fits your channel, check your watermark and end screen placement along with the copyright rules at the same time.
Customize a transparent PNG subscribe button graphic that fits YouTube's standard specs in a few clicks, and download it for free.
This article was adapted from our Korean original. Read the Korean original