
Split a panorama for Instagram carousels with no visible seams
Contents
To split a panorama across an Instagram carousel so it reads as one image when you swipe, each piece has to be square and its cut has to line up exactly with the piece next to it. If you crop each piece into a square on its own, those two conditions don't hold together, so when you swipe, the horizon or the position of people often jumps a step at every seam. That misalignment isn't a matter of feel — it's a math problem that shows up when the square crop ratio and the original photo ratio don't match.
Summary ① If you're making N slides, crop the original to a region with an exact N:1 aspect ratio before you split anything. ② Divide that N:1 region into N equal horizontal parts, and each piece's width and height come out mathematically equal — automatically square. ③ Crop each piece into a square separately and the top/bottom trim differs from piece to piece, so they look off when you put them back together.
The problem: why the pieces look slightly off vertically when you join them
You often want to take a wide landscape shot or a group photo, split it into 3–5 Instagram carousel slides, and have it read as one panorama as you swipe. The usual approach: eyeball N equal divisions in a photo editor, then tidy up each piece with a square crop.
The problem is that "make it square" is a different calculation for every piece. To make a square, you crop the longer side down to the length of the shorter side. If a piece's width is narrower than its height (the original height), you trim the top and bottom, and the amount you trim is set by "original height − piece width."
When you divide by eye, every piece ends up a slightly different width, and the amount trimmed off the top and bottom varies with it. The result: side by side, the horizon or the vertical position of people jumps at every seam.
The fix: crop the whole image to N:1 first, then divide
Instead of making each piece square separately, crop the whole image once to the target ratio (N:1), then divide the result into N equal parts. That way you never have to work out a square crop per piece. Here's the order:
- Decide how many slides N you'll post (usually 3–5).
- Check the original width (W) and height (H), and compare W÷H with N.
- If W÷H is N or more (the photo is already wide enough): keep the height as is and keep only H×N of the width, centered. Trim (W − H×N)÷2 from each side.
- If W÷H is less than N (not wide enough): keep the width as is and keep only W÷N of the height, centered. Trim (H − W÷N)÷2 from the top and bottom.
- The width of the region you kept, divided by N, is the length of one side of each slide. Step 1 already made width÷N equal to the height, so you can crop from the left at that width and every piece is square — no second square calculation needed.
- Name the pieces left→right as 01, 02, 03… and upload them as multiple images in one post.
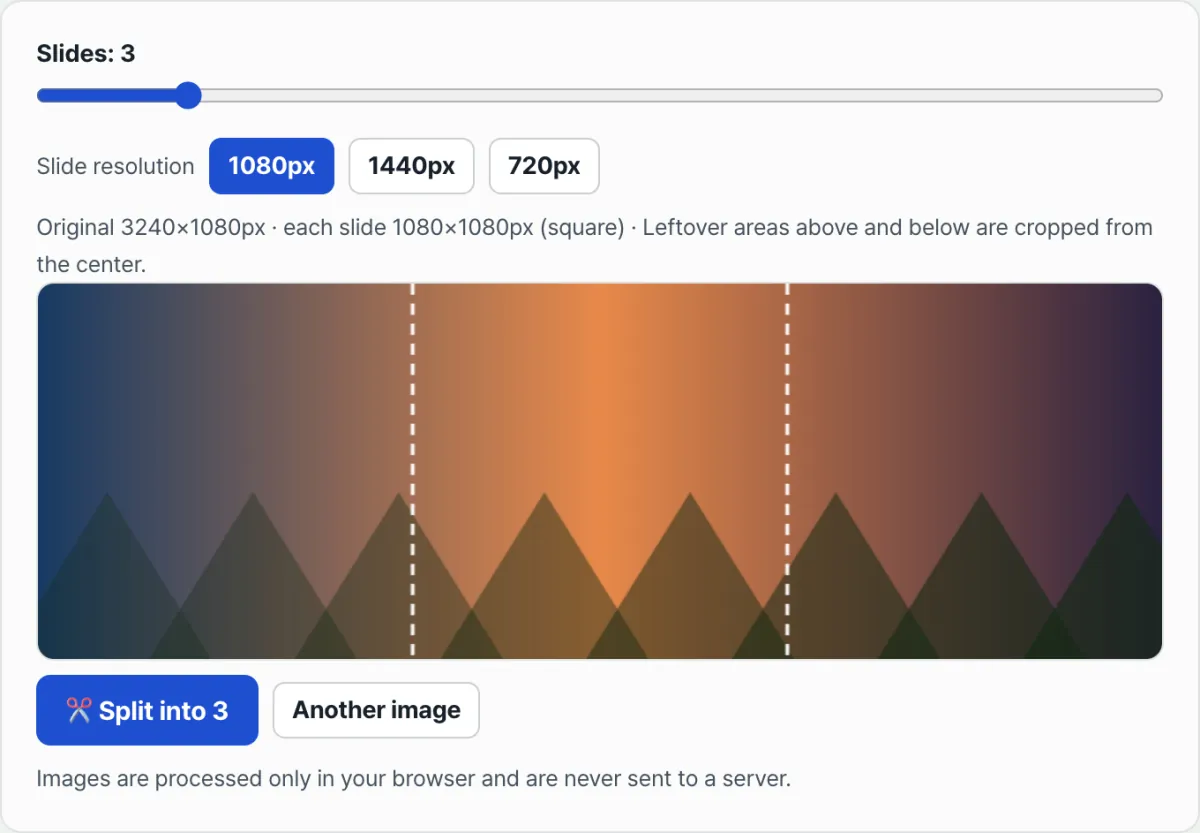
Follow that order and the trim amount was already fixed for every piece in step 1, so the seams line up when you swipe. If you'd rather not do the math yourself and want to see the numbers right away, try our free tool.
Free · no sign-up · upload an image and it splits into seamless square carousel pieces right in your browser
Where people get stuck
| Situation | What's going wrong | What to check |
|---|---|---|
| You square-cropped each piece separately | Each piece has a different width, so the top and bottom trim differs too | Check that you cropped the whole image to N:1 first, then divided |
| You forced a tall photo into several slides | W÷H is less than N, so a lot gets cut off the top and bottom | Check first that the original is wide enough for the number of slides (N) |
| You got the upload order wrong | The image runs backwards or looks scrambled | Check that the files are named 01→02→03 (left→right) |
| You saved the pieces at different resolutions | Instagram resizes each one again, so slight quality differences appear | Check that every piece uses the same resolution (for example, 1080px) |
The bottom line
- For carousel slides to line up, crop the original to an N:1 ratio matching your number of slides (N) before you split it.
- Divide that N:1 region into N equal horizontal parts, and each piece's width equals its height, so it comes out square automatically.
- Crop each piece into a square separately and the trim differs from piece to piece, so the seams look off when joined.
- The wider the original (the bigger W÷H is compared with N), the less you lose top and bottom. The more slides you use, the narrower the horizontal strip each slide gets.
- Upload left→right, named 01, 02, 03…, as multiple images in one post.
Free · no sign-up · upload an image and it splits into seamless square carousel pieces right in your browser
Frequently asked questions
How many slides should I use?
There's no single right answer, and this tool lets you set anywhere from 2 to 10. That said, more slides means each one takes a narrower strip of the original width, so if the original resolution isn't generous, upscaling can leave the image looking soft.
Can I split a vertical or square photo this way?
Yes, but the smaller W÷H is compared with your target number of slides (N), the more you have to cut off the top and bottom. A photo shot wide as a panorama loses the least; the taller the photo and the more slides you use, the more you lose top and bottom.
Are the photos I upload stored on a server?
No. Uploaded images are processed on a canvas inside your browser only and never sent to a server. The split pieces are also saved straight to files in your browser, so you can check the result without leaving a copy of the original anywhere else.
This article was adapted from our Korean original. Read the Korean original