
Speech Bubble Sticker Maker: Draw and Export Transparent PNG
Contents
When you want to put dialogue next to a character or a photo of a person for an Instagram Story, a webtoon panel, or a YouTube thumbnail, it's a hassle to open a graphics tool every time: draw a shape, place the text, then erase the background. A speech bubble sticker maker for social posts lets you type your line, pick colors, roundness, and tail direction, and get a transparent PNG sticker right away. This post covers how a speech bubble is actually drawn, and what to watch out for when you build one in code instead of using a tool.
Summary ① A speech bubble is drawn by combining two shapes: a body with rounded corners, and a triangular tail. ② Text with too little padding around it feels cramped, so aim for at least 16px. ③ With the Speech Bubble Sticker Maker, you don't have to write any of this code — you get a transparent PNG directly.
Why the bubble shape should change with the scene
Use a round bubble for ordinary spoken lines, a cloud-shaped bubble for inner thoughts or imagination, and a jagged bubble for urgent, emphasized lines. Matching the shape to the moment lets readers tell at a glance what kind of line they're looking at. Since the bubble will sit on top of a photo or video, it also has to be a PNG with a transparent outside. If the background is filled with white or any other color, you'll see a hard rectangular edge when you place it over a photo, and it looks off.
How to draw it yourself on a canvas
You can draw a speech bubble with nothing but the browser's HTML5 Canvas API. The idea is to draw two shapes in order and merge them. First draw the bubble body as a rectangle with rounded corners, attach a pointed triangular tail beneath it, then center the text on top.
function drawSpeechBubble(canvas, text, bubbleColor, textColor, tailPos = 'bottom-left') {
  const ctx = canvas.getContext('2d');
  ctx.font = 'bold 24px sans-serif';

  const textMetrics = ctx.measureText(text);
  const padding = 24;
  const bubbleW = textMetrics.width + padding * 2;
  const bubbleH = 60;
  const radius = 16;
  const tailH = 20;
  const overlap = 4; // avoid a visible seam: overlap the tail slightly into the body

  // Left/right tails stick out to the side, so shift the canvas width and body position by that much
  const sideTail = tailPos === 'left' || tailPos === 'right';
  const bubbleX = tailPos === 'left' ? 10 + tailH : 10;

  canvas.width = bubbleW + 40 + (sideTail ? tailH : 0);
  canvas.height = bubbleH + tailH + 20;

  ctx.clearRect(0, 0, canvas.width, canvas.height);

  // 1. Draw the bubble body rectangle with rounded corners
  ctx.beginPath();
  ctx.fillStyle = bubbleColor;
  ctx.roundRect(bubbleX, 10, bubbleW, bubbleH, radius);
  ctx.fill();

  // 2. Draw the tail triangle (placed so it sinks overlap pixels into the body)
  ctx.beginPath();
  if (tailPos === 'bottom-left') {
    ctx.moveTo(bubbleX + 20, 10 + bubbleH - overlap);
    ctx.lineTo(bubbleX + 10, 10 + bubbleH + tailH);
    ctx.lineTo(bubbleX + 40, 10 + bubbleH - overlap);
  } else if (tailPos === 'bottom-right') {
    ctx.moveTo(bubbleX + bubbleW - 40, 10 + bubbleH - overlap);
    ctx.lineTo(bubbleX + bubbleW - 10, 10 + bubbleH + tailH);
    ctx.lineTo(bubbleX + bubbleW - 20, 10 + bubbleH - overlap);
  } else if (tailPos === 'left') {
    ctx.moveTo(bubbleX + overlap, 10 + bubbleH / 2 - 15);
    ctx.lineTo(bubbleX - tailH, 10 + bubbleH / 2);
    ctx.lineTo(bubbleX + overlap, 10 + bubbleH / 2 + 15);
  } else if (tailPos === 'right') {
    ctx.moveTo(bubbleX + bubbleW - overlap, 10 + bubbleH / 2 - 15);
    ctx.lineTo(bubbleX + bubbleW + tailH, 10 + bubbleH / 2);
    ctx.lineTo(bubbleX + bubbleW - overlap, 10 + bubbleH / 2 + 15);
  }
  ctx.fillStyle = bubbleColor;
  ctx.fill();

  // 3. Render the text centered (use the same font size you measured with, or the width math will be off)
  ctx.fillStyle = textColor;
  ctx.font = 'bold 24px sans-serif';
  ctx.textAlign = 'center';
  ctx.textBaseline = 'middle';
  ctx.fillText(text, bubbleX + bubbleW / 2, 10 + bubbleH / 2);
}
roundRect() handles the body's rounded corners by joining each corner with a gentle curve. The tail is a triangular path (moveTo → lineTo → lineTo) connecting three points: two on the body's edge and one pointing outward. If you line the triangle's base up exactly with the body's edge, anti-aliasing makes the seam stand out when the image is enlarged, so you have to place the coordinates a few pixels inside the body — that's what overlap does. Each tailPos branch calculates those three points separately to produce the four directions: bottom-left, bottom-right, left, and right. For the left and right tails, you shift both bubbleX and the canvas width so the tail isn't clipped at the canvas edge. For the text, you size the body with padding on each side, then draw it centered using the same font size you measured with.
Note To run the code above yourself, you have to hand-write the canvas sizing, color value handling, per-direction tail coordinate branches, and PNG export every time. If you'd rather type your text, pick colors, roundness, and tail direction, and get the result right away, try it with our tool.
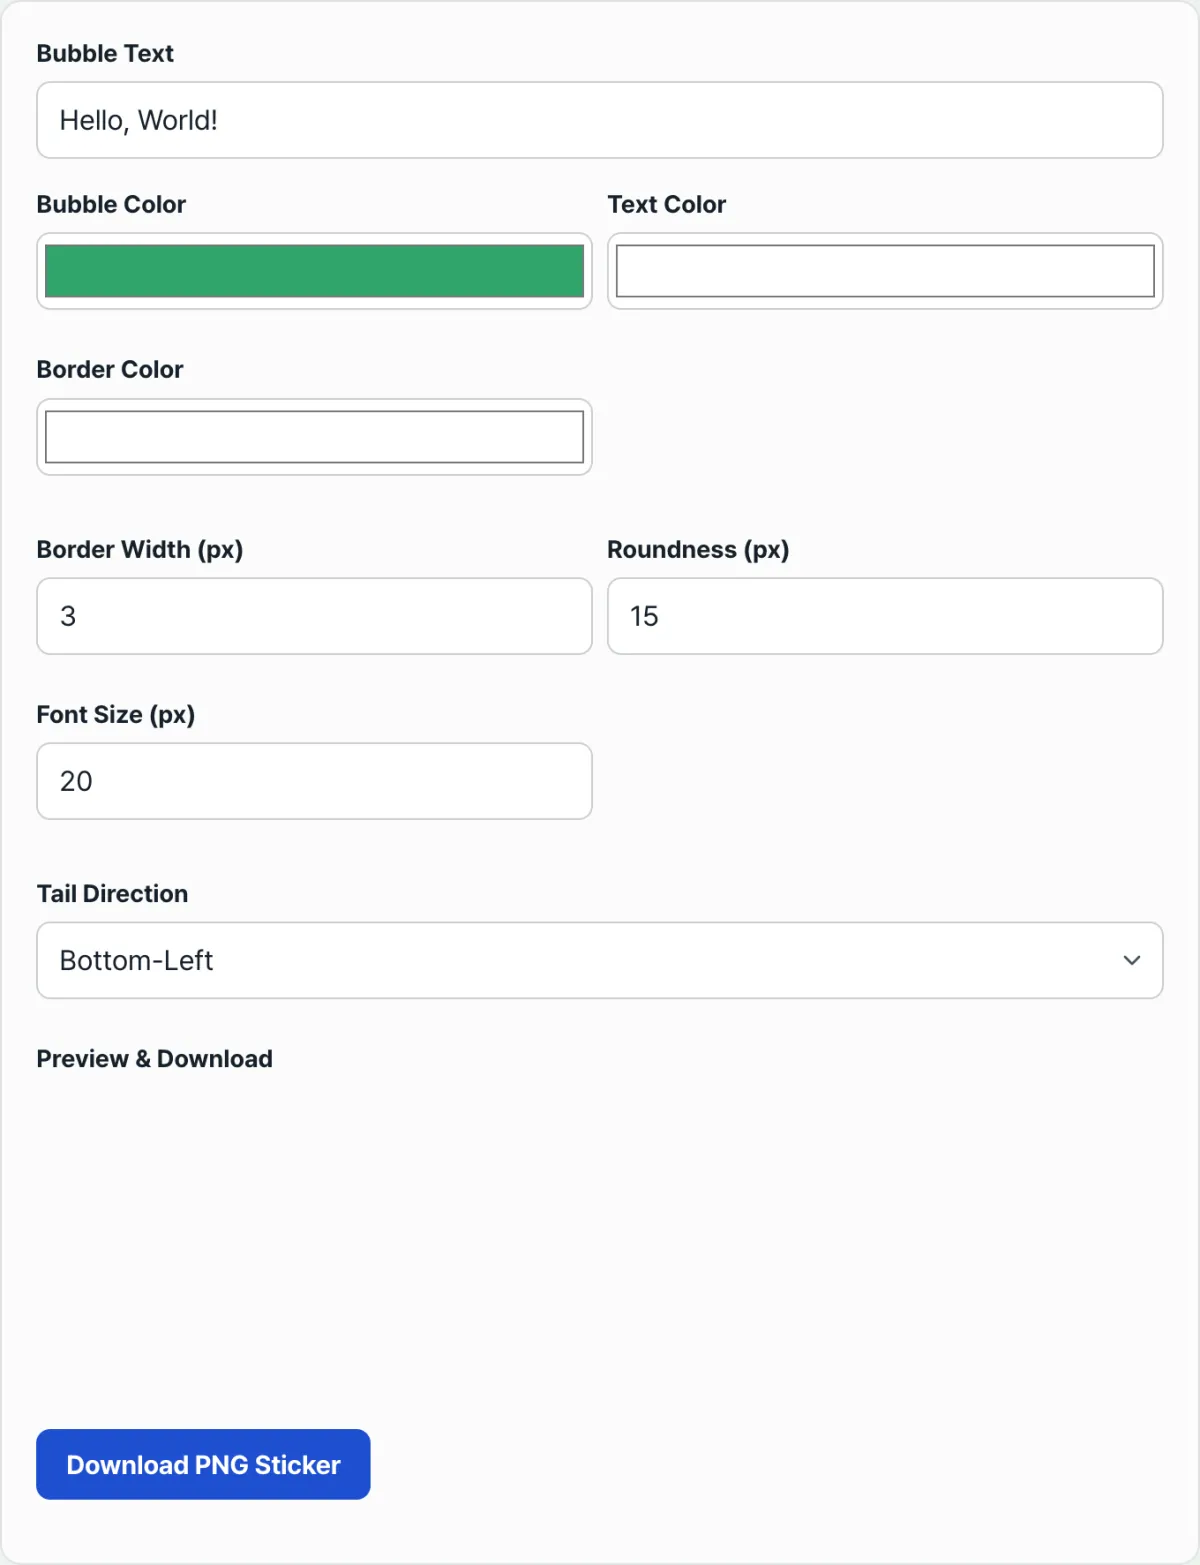
Type your dialog line, adjust the bubble color, border, corner roundness, and tail direction, then download a PNG sticker with a transparent background.
Type your line into the screen and adjust the background color, text color, border, roundness, and tail direction. The tool handles the coordinate math and rendering that the code above does, and gives you a transparent PNG to download.
The core pieces of a speech bubble sticker
| Element | What it does |
|---|---|
| Corner Radius | Rounds the corners of the body rectangle for a softer look |
| Tail Direction | Sets the tail to bottom-left, bottom-right, and so on, to match where the speaker is |
| Alpha Channel | Uses PNG so the background stays transparent when placed over a photo or video |
Recap
- A speech bubble is drawn from two shapes: a rounded body and a triangular tail.
- Give the text at least 16px of padding so it doesn't feel cramped.
- Changing the shape with the kind of line (ordinary dialogue, inner thoughts, emphasis) makes the content easier to tell apart.
- If you're placing it over a photo or video, it needs to be a PNG with a transparent background.
- You don't have to write the code — the Speech Bubble Sticker Maker gives you the same result right away.
Type your dialog line, adjust the bubble color, border, corner roundness, and tail direction, then download a PNG sticker with a transparent background.
Frequently Asked Questions
Does it save with a transparent background?
Yes, the area around the generated speech bubble is downloaded as a PNG file with a transparent background. You can use it right away as an overlay sticker in card news, video editing, or social media posts.
How do I change the direction of the speech bubble tail?
You can choose which direction the tail points (bottom left, bottom right, left, right). Just pick the direction that matches where the person speaking is on the screen.
Can I change the shape or color of the speech bubble?
You can adjust the bubble's background color, text color, border color, corner roundness, and font size separately. Even if you just enter new text, a new sticker is created with all your other settings kept as they are.
This article was adapted from our Korean original. Read the Korean original