
Why Cropping a Profile Photo at High Zoom Looks Blurry
Contents
Sometimes you drag the zoom slider all the way up while cropping a profile photo and the result comes out soft, or the pixels look like jagged steps. That's not a bug in the app — it's a structural result of how cropping with zoom works. Once you know the math, you can predict before uploading which photos will lose quality, and at what zoom level.
Summary ① Zoom doesn't create new pixels that weren't in the original — it crops a narrower area and stretches it to fill the space ② If the original's short-edge pixel count divided by the zoom factor is smaller than the output size, the quality loss shows up directly ③ You can check the original pixel dimensions with just the "Get Info" feature in your image viewer and run this calculation yourself
Why does a profile photo get blurry when you zoom in to crop it?
Say you have a 900×900px photo and you want a 320×320px profile picture. At 1× zoom you crop the full 900×900px area from the original and shrink it to 320px, so it actually comes out sharper. The trouble starts when you raise the zoom.
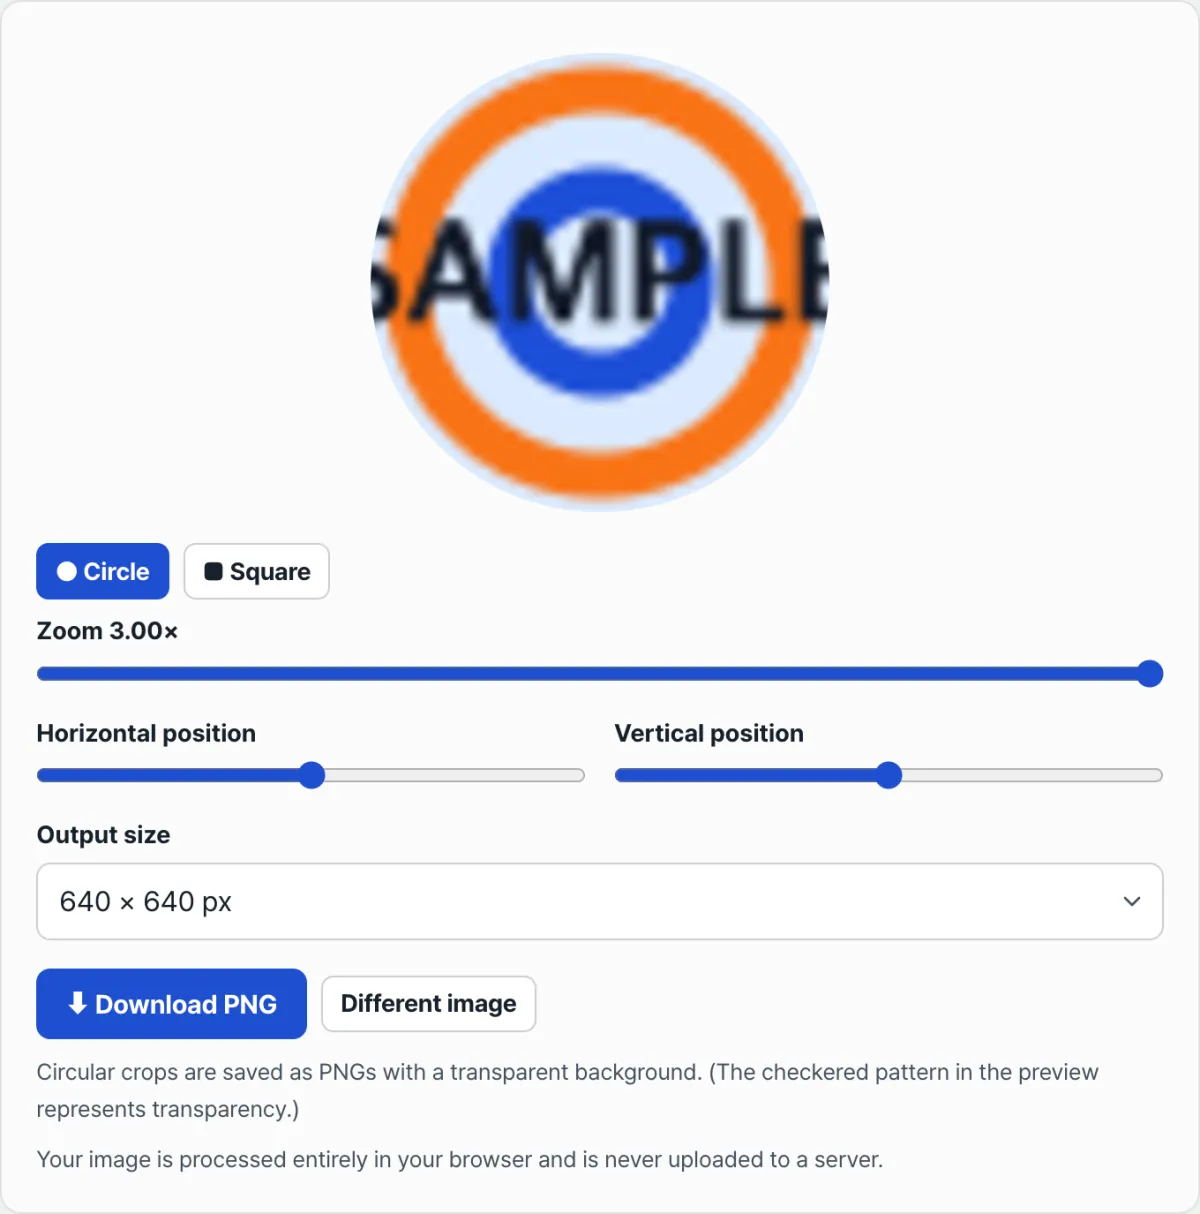
Push the zoom to 3× and the crop area shrinks to 900÷3=300px. Now you have to draw that 300×300px slice onto a 320×320px canvas, which in practice means stretching a 300px image to 320px.
Details that weren't in the original don't appear out of nowhere. You're just spreading the existing pixels wider, so edges go soft or look jagged.
The problem gets worse when the original itself is small. If the short edge is under 400px — a screenshot from a messenger app, or a photo that's already been cropped once — even a small bump in zoom makes the crop area smaller than the output size. A photo straight from a smartphone camera (short edge is usually 3,000px or more), by contrast, still has plenty of room even at 3× zoom.
How to check for quality loss without a tool
You can figure out whether a photo will go blurry after zooming without any extra software. All you need is two numbers: the original photo's pixel dimensions and the output size you want.
Start with the short-edge pixel count of the original. On Windows, right-click the file and go to Properties → Details tab. On Mac, select the file and press Cmd+I (Get Info); the "Dimensions" field shows width × height in pixels.
Divide that number by the zoom factor you want, then compare it to your target output size. For example, a photo with a 600px short edge at 2× zoom leaves you 300px. If that number is smaller than the output size, the image has to be stretched to fill it, so quality drops. If it's equal or larger, the image is actually being scaled down, so sharpness holds up.
Check it with our tool. Instead of doing this math by hand every time, it's faster to change the zoom and output size and watch the result in the preview.
Free · No sign-up · Your photo is processed only inside your browser
Where people get stuck
Here are the points people most often stumble on with zoom, shape, and save format.
| Situation | Cause | Fix |
|---|---|---|
| The preview looks blurry even at low zoom | The original photo's short edge is already small (a screenshot, for example) | Lower the zoom or reduce the output size |
| Square looks fine, but circular looks off | A circle cuts the corners, so the visible area is narrower than a square | Center the face and adjust the horizontal and vertical position |
| Downloads always save as PNG | The output format is fixed to PNG so transparent backgrounds are supported | Even for a square, the file saves as .png |
The short version
- Zoom doesn't create information that wasn't in the original — it stretches a narrower area to fill the frame
- Quality loss starts the moment the original's short edge ÷ zoom factor drops below the output size
- The bigger the original (a smartphone camera photo, say), the more zoom headroom you have; a small screenshot has almost none
- You can check the original pixel dimensions from your image viewer's file info and do this math ahead of time
- Rather than calculating by hand, it's faster to change the zoom and output size and check the preview with your own eyes
Free · No sign-up · Your photo is processed only inside your browser
Frequently asked questions
Does skipping zoom always mean better quality?
At 1× zoom the full center square of the original image is used as-is, so you lose the least compared to the original. That said, if the original is smaller than the output size, it has to be stretched regardless of zoom, so some quality loss is unavoidable.
What output size should I pick?
Pick something at or above what the service you're using requires, while staying within the original photo's quality headroom. You can check whether you have headroom by comparing "short edge ÷ zoom factor" to your output size, as described above.
I cropped it as a circle, but the background shows a checkered pattern instead of white
That's normal. A circular crop is saved as a PNG with everything outside the circle made transparent, and the gray-and-white checkerboard in the preview isn't a real color — it's how transparency is displayed. Once you place it on an actual background, like a document or social media, it looks natural with no checkerboard.
Is my photo uploaded to a server?
No. Reading, zooming, and cropping the image all happen inside your browser. Nothing is sent to or stored on a server.
This article was adapted from our Korean original. Read the Korean original