
Changing Image DPI Won't Change Quality: Print Size Formula
Contents
Changing the DPI value in an image file from 72 to 300 won't change how it looks on a monitor at all. DPI isn't the image's own sharpness — it's a metadata number that sets the size it prints at. The pixels inside don't change.
To make an image look sharper on screen, you need to increase the actual pixel width and height, not the DPI number. Let's start with the formula that explains the difference, then cover how to adjust pixel dimensions and DPI together with our image DPI changer.
Summary ① DPI (Dots Per Inch) is print-only metadata meaning the number of dots per inch. Monitors and browsers don't read it — they just draw the pixels. ② Print size is determined by
pixels ÷ DPI, so raising DPI alone doesn't improve quality — it only makes the printed size smaller. ③ To actually improve print quality, you increase the pixel dimensions (width × height) themselves, not the DPI number. ④ With our image DPI changer, you can adjust pixel dimensions and DPI together and save them straight into the metadata of PNG and JPG files.
The problem: you raised the DPI, the screen looks the same, and the print shop rejects it
When you send a file to a print shop, a government office form, or a business card printer, it's common to get a request to "resend it at 300dpi." But sometimes you change the DPI number in the file info to 300, send it back, and get the same answer again: "The resolution is too low to print."
The opposite confusion happens too. You raise the DPI "to improve quality," check it on screen, and nothing looks different — so you wonder whether the change actually applied.
Both cases have the same cause. DPI doesn't touch the pixel data stored in the image. It's a number that print software only consults when calculating "how many inches on paper should these pixels cover."
The fix: check it with the formula first
The relationship between print size, DPI, and pixel count comes down to one formula.
Print size (inch) = pixels ÷ DPIPrint size (cm) = pixels ÷ DPI × 2.54
For example, a 3000px-wide image printed at 300 DPI comes out 3000 ÷ 300 = 10 inch (about 25.4cm) wide. Show the same image at 72 DPI and the math gives 3000 ÷ 72 ≈ 41.7 inch (about 105.8cm) — much larger. The pixel data is identical, but the same dots are spread over a bigger area, so the print looks that much coarser.
Here's the order to check things in practice:
- Confirm the required print size (cm or inch) and the DPI your print shop specifies first.
- Calculate the minimum pixel dimensions with
required pixels = print size (inch) × DPI. For example, to print A4 (about 8.27 inch wide) at 300 DPI, the width needs to be at least 2,481px. - If the original image's actual pixel count is smaller than that, sending it with only the DPI number changed is pointless. It doesn't create detail that isn't there — it just adds pixels, so a blurry original gives a blurry result. In that case, the only fix is to get a higher-resolution original.
- If, on the other hand, the pixel count is already sufficient and only the DPI metadata is recorded low, like 72, and an intake system is auto-rejecting it, then leave the pixels alone and just rewrite the DPI tag to 300.
Check and adjust pixel dimensions and DPI together with our tool.
Free · no sign-up · adjusts pixel size and DPI together and saves as PNG or JPG
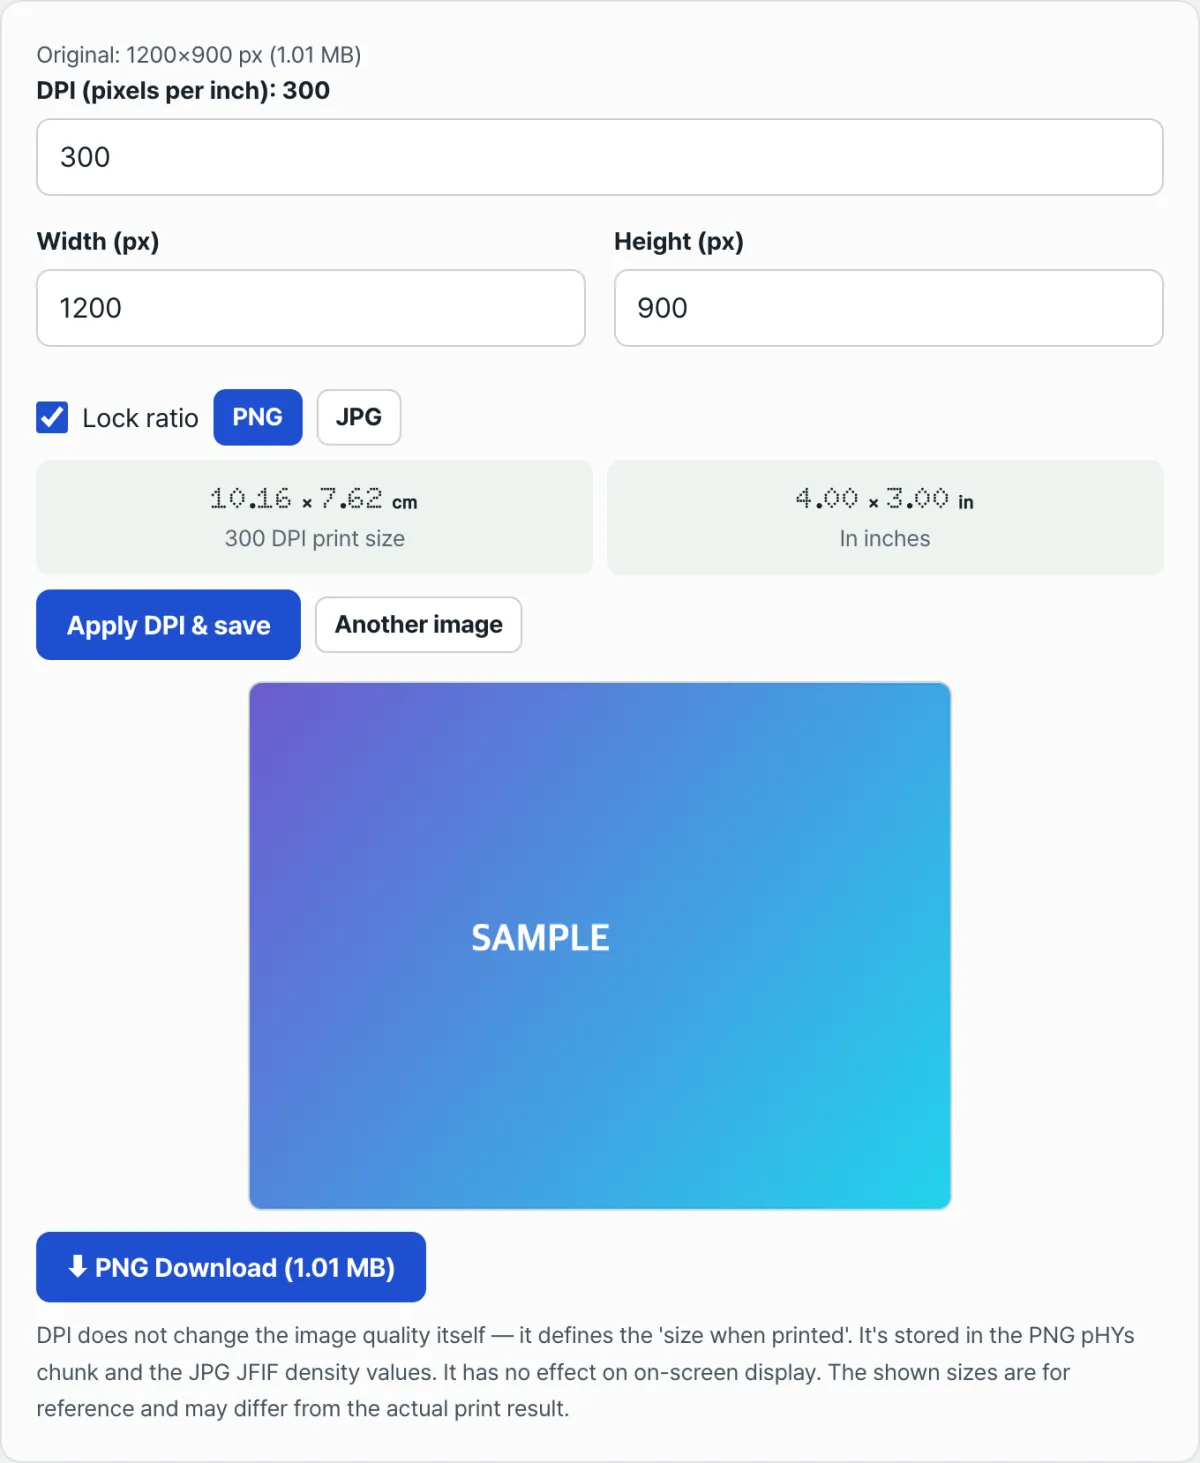
When you drag an image into the tool, it first shows the original pixel dimensions (width × height in px) and file size. From there you can adjust the following.
- DPI field: Type in the DPI number you want (default is 300).
- Width and height (px) fields: With the lock aspect ratio checkbox on, changing the width recalculates the height automatically to match the original ratio.
- PNG / JPG format selection: Choose JPG and you can adjust compression quality (30–100%) with a slider.
- The moment you change an input, the print size in cm and inch at the current DPI is calculated live at the bottom of the screen.
Press the "Apply DPI and save" button and the image is redrawn at the pixel dimensions you set, then the DPI info is written into the pHYs chunk for PNG and the JFIF density value for JPG. That value is only metadata that print software or a print shop's intake system reads — it has no effect on how the image displays.
Common sticking points
| Situation | Cause |
|---|---|
| The image looks the same on screen after raising the DPI | Browsers and monitors don't read DPI metadata — they just draw the pixels |
| The print looks blurry after changing only the DPI to 300 | The pixel count itself is too low, so DPI alone doesn't create resolution that isn't there |
| A transparent background turned white after saving as JPG | JPG doesn't support transparency, so the tool fills the background with white before drawing |
| The image got squashed after unlocking the aspect ratio and changing only the width | When the width-to-height ratio differs from the original, the image is stretched to fill that ratio on the canvas |
| The file size changed a lot after saving | The file is re-encoded as PNG or JPG, and JPG compression varies with the quality (%) slider |
The bottom line
Changing the DPI value isn't a quality improvement — it's relabeling the print size. Judge real resolution problems by pixel count, always. Only fix the DPI tag when the pixels are sufficient and just the metadata is off. Use our image DPI changer to check pixel dimensions and DPI together and save in the format you want.
Free · no sign-up · adjusts pixel size and DPI together and saves as PNG or JPG
Frequently asked questions
If I set the DPI very high, like 400 or 600, does print quality get better?
No. DPI leaves the pixel count alone and only recalculates the print size, so a higher number just makes the calculated print size smaller. If the pixel count doesn't back it up, raising the DPI number adds no real sharpness.
How do I check whether my file meets the DPI a print shop requires?
Multiply the print size you want (in inches) by the DPI the print shop requires to get the minimum pixel count, then load the image into the tool and compare it with the original pixel dimensions it shows. If the original pixels are smaller than that number, get a larger original before touching the DPI tag.
Should I save as PNG or JPG?
If you need a transparent background, or it's a logo or document with crisp lines, PNG is the safe choice. If it's a color-heavy photo you need to send at a smaller file size, pick JPG and use the quality slider to control how much it compresses.
This article was adapted from our Korean original. Read the Korean original